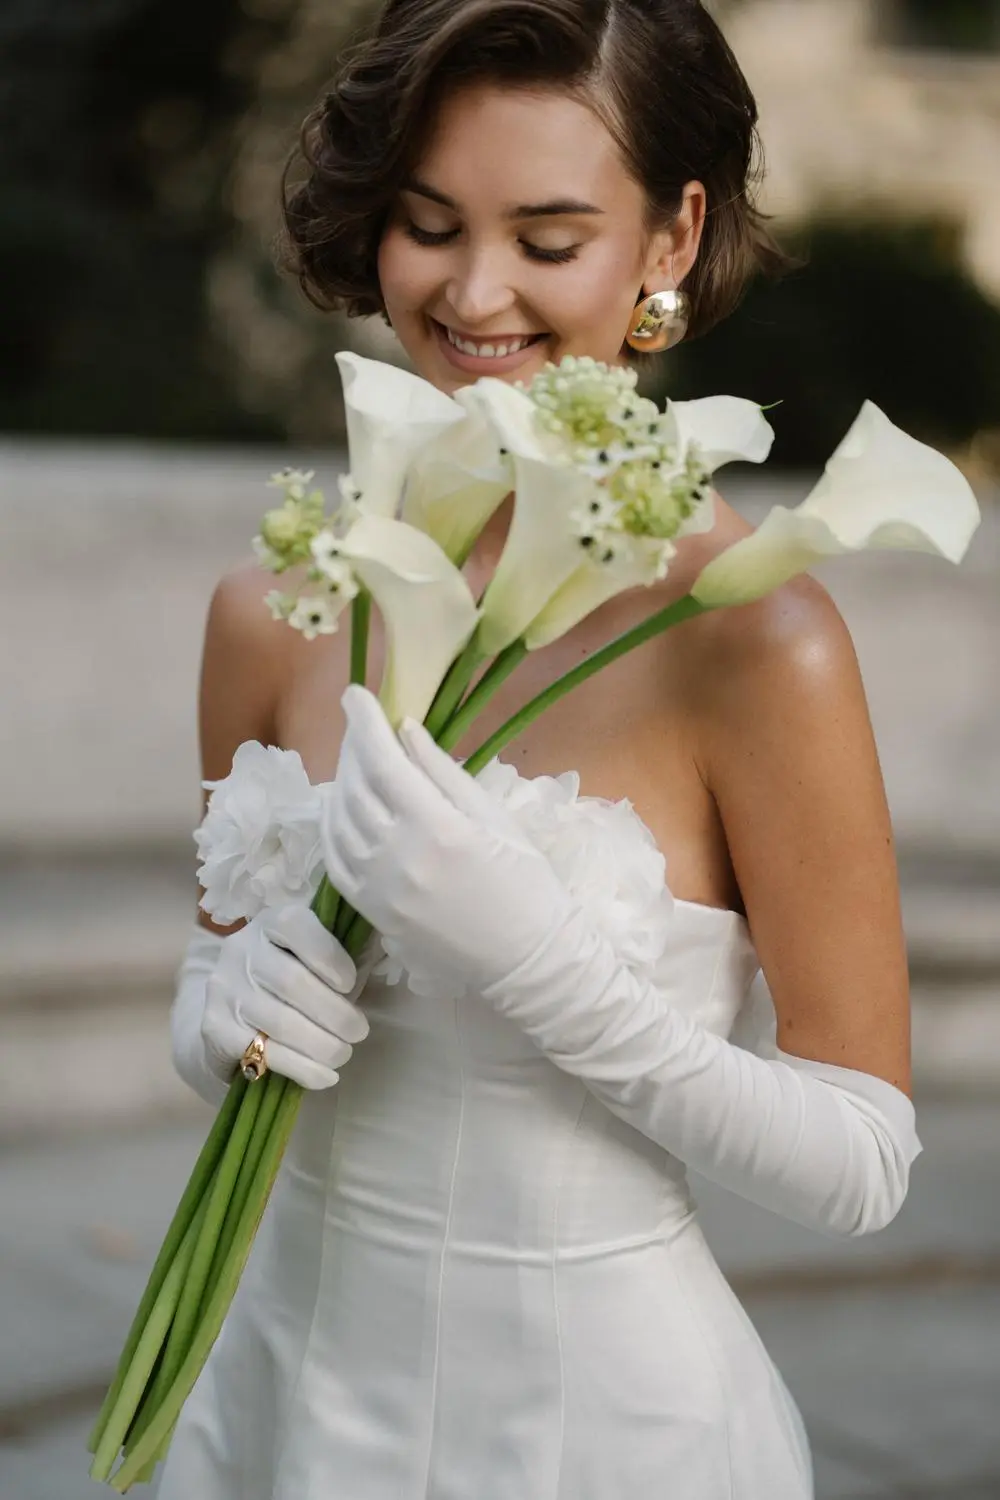
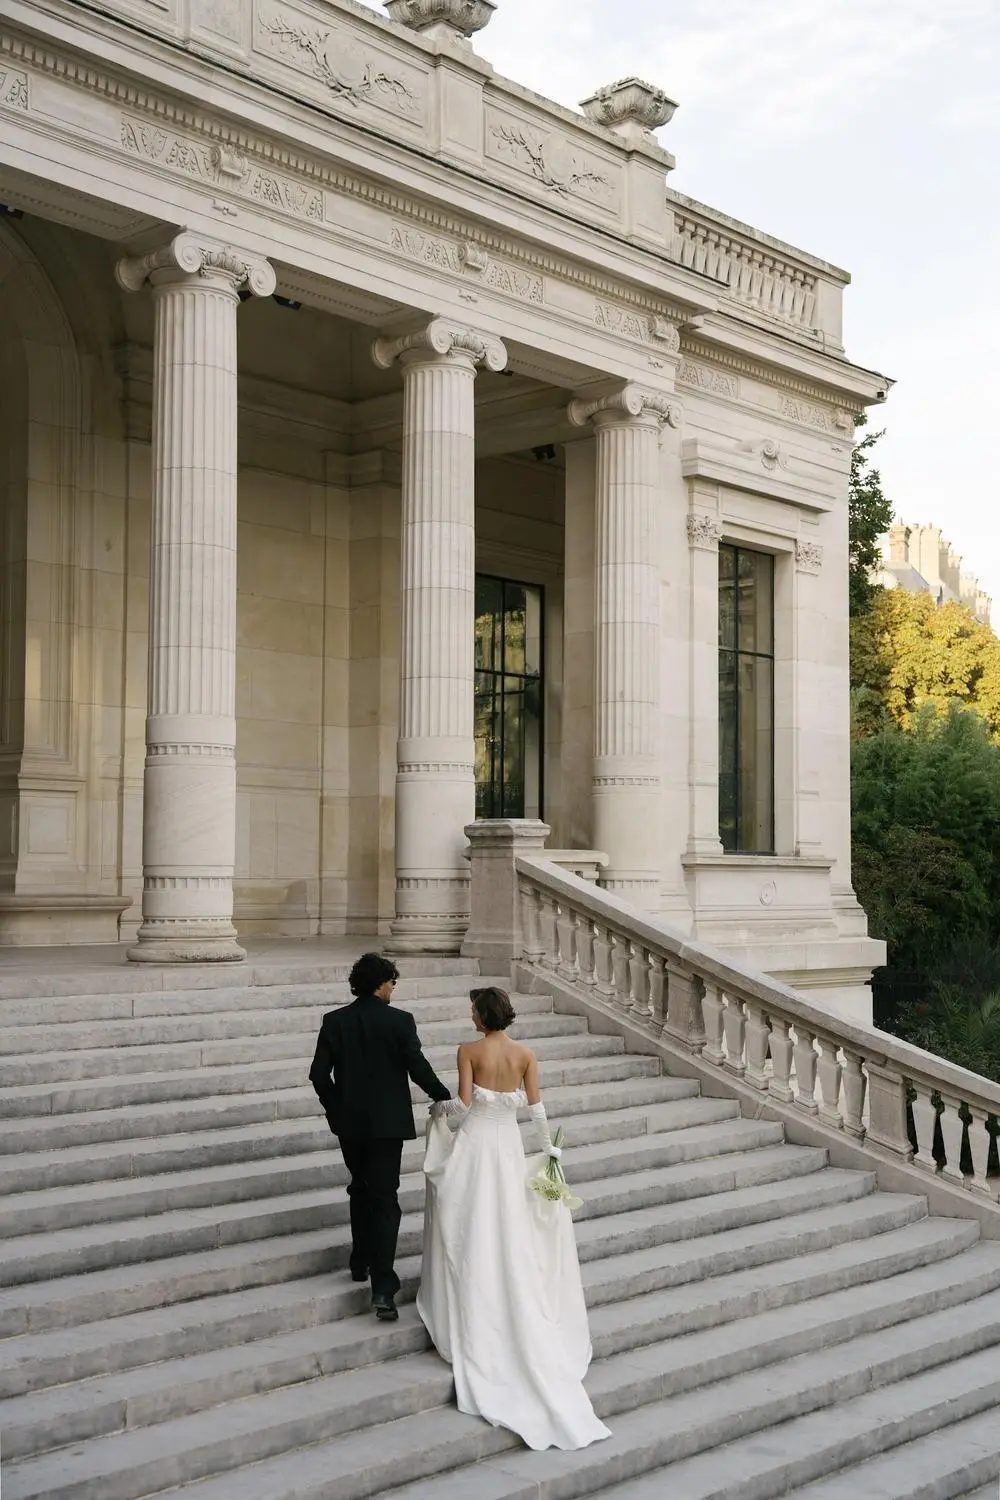
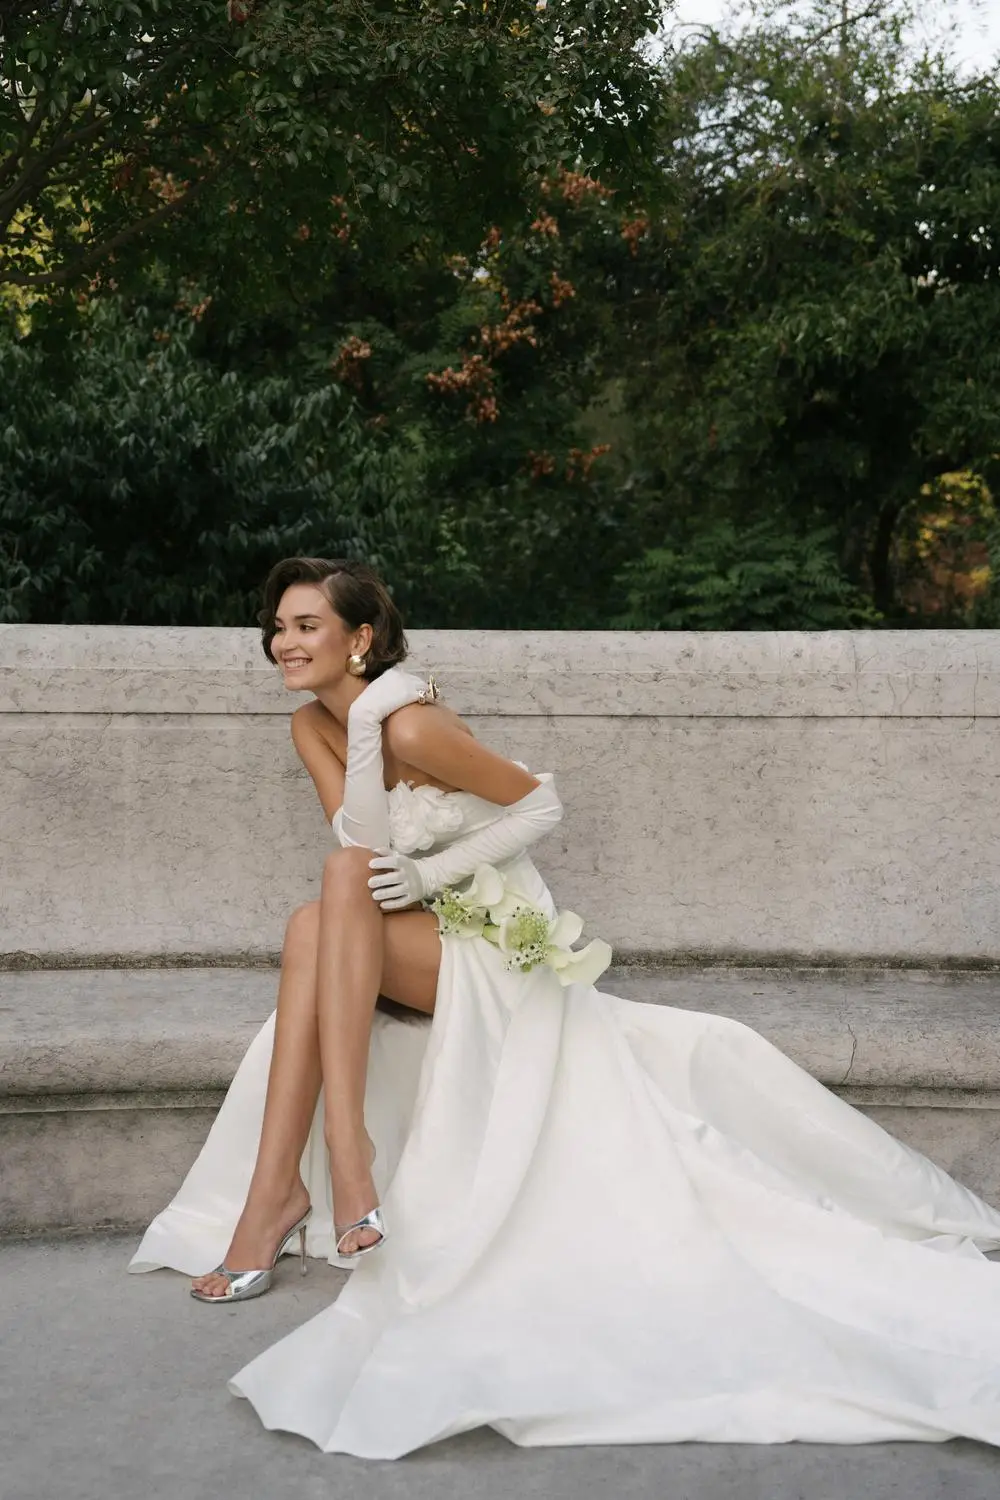
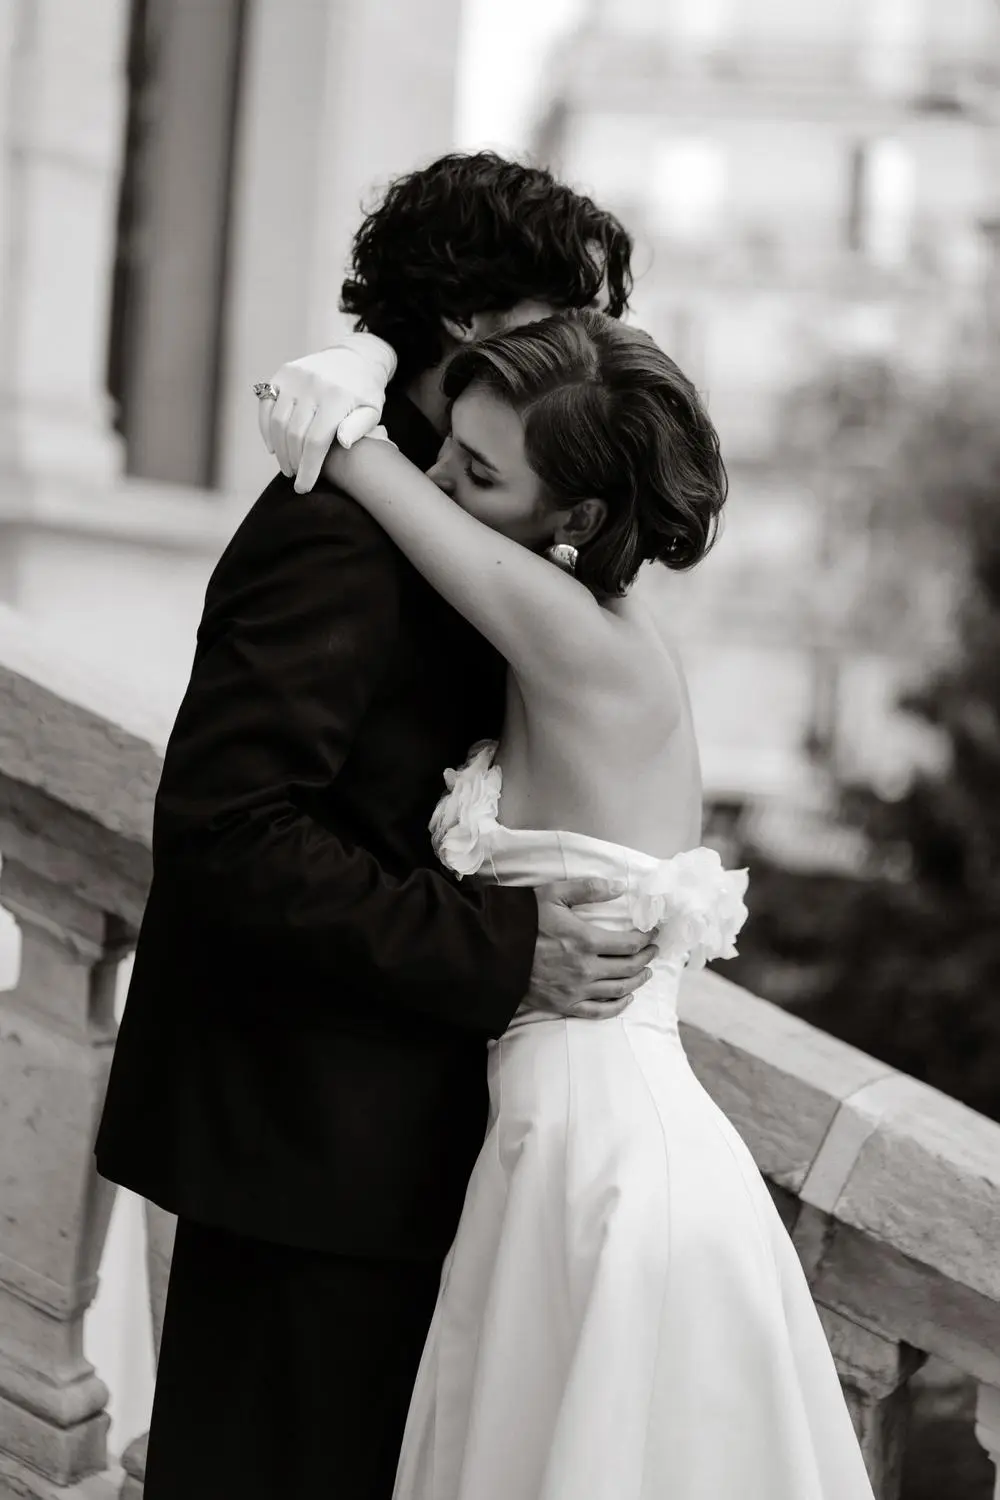
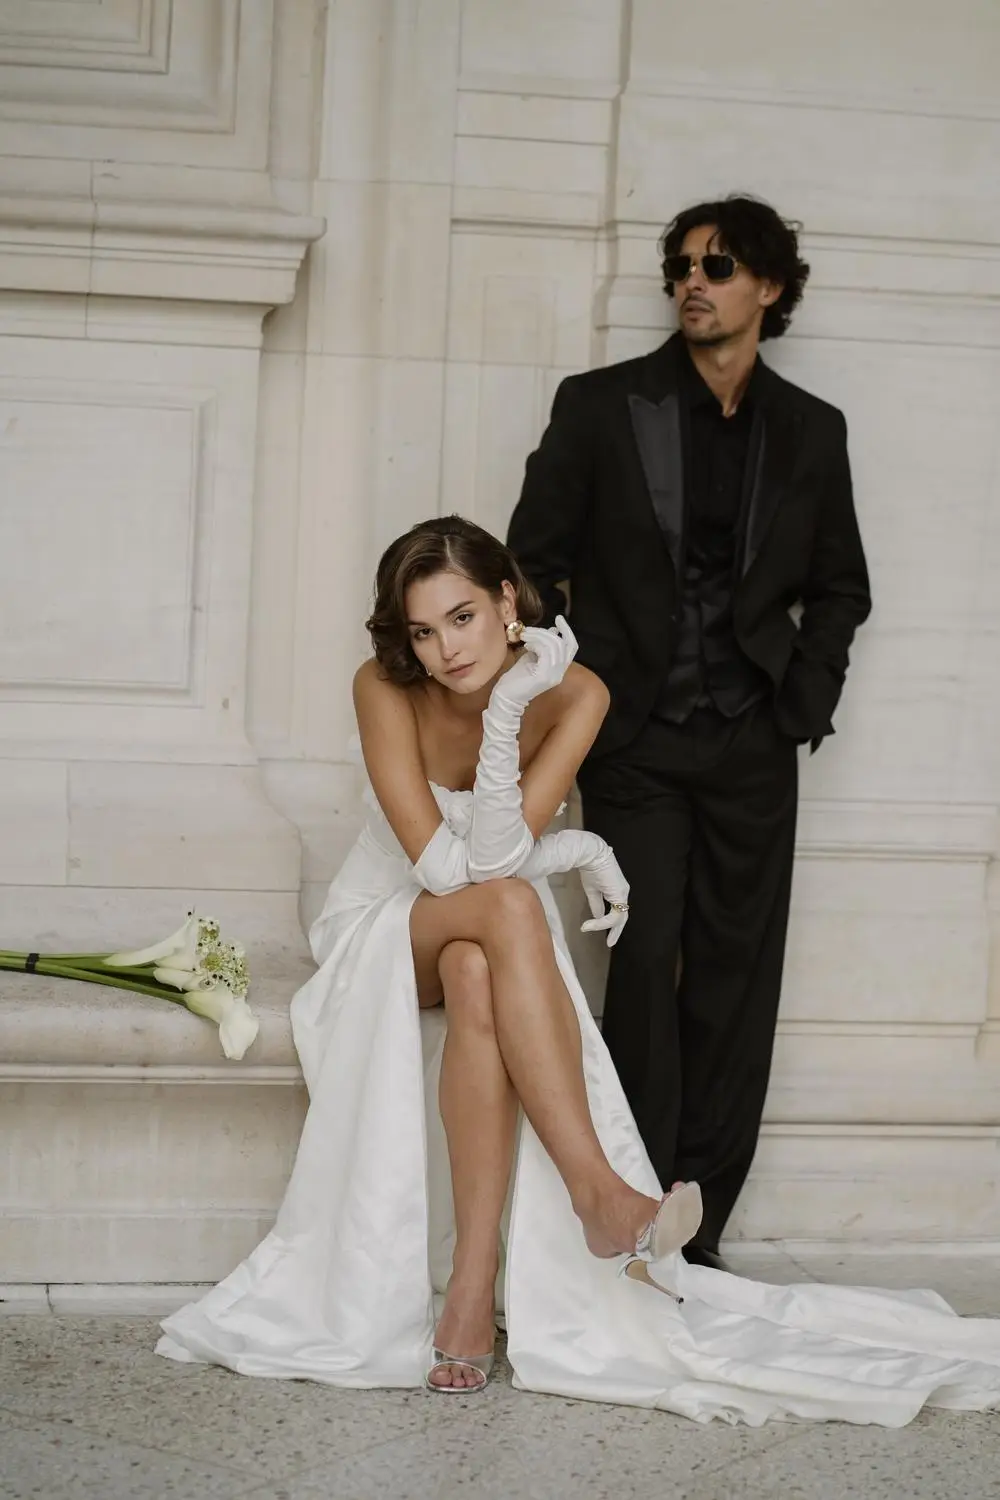
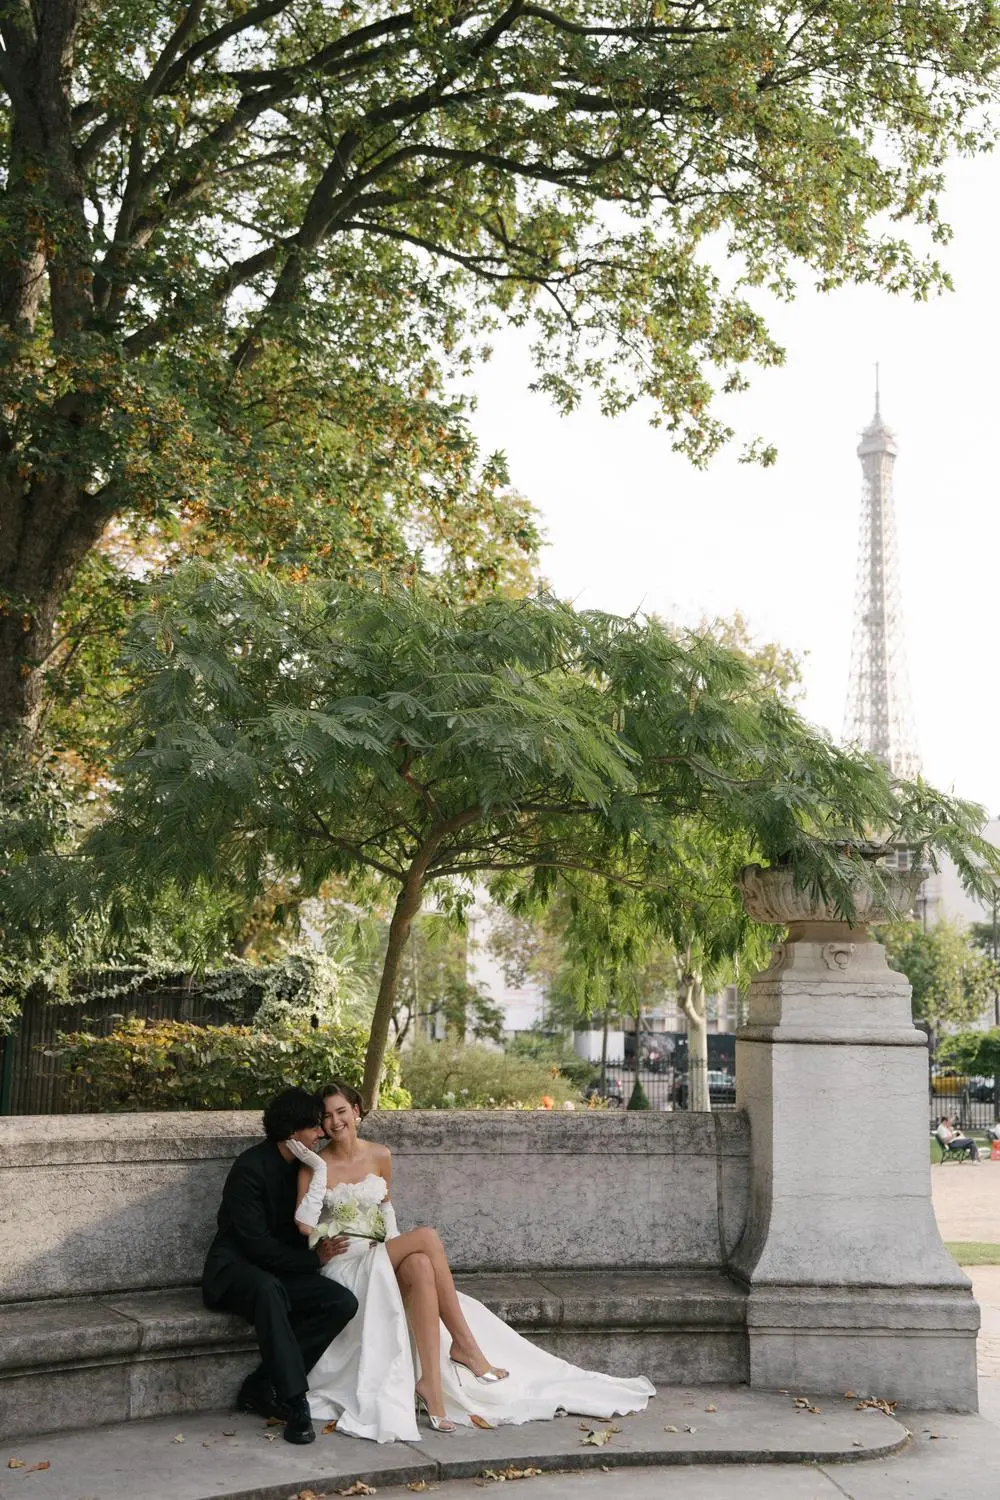
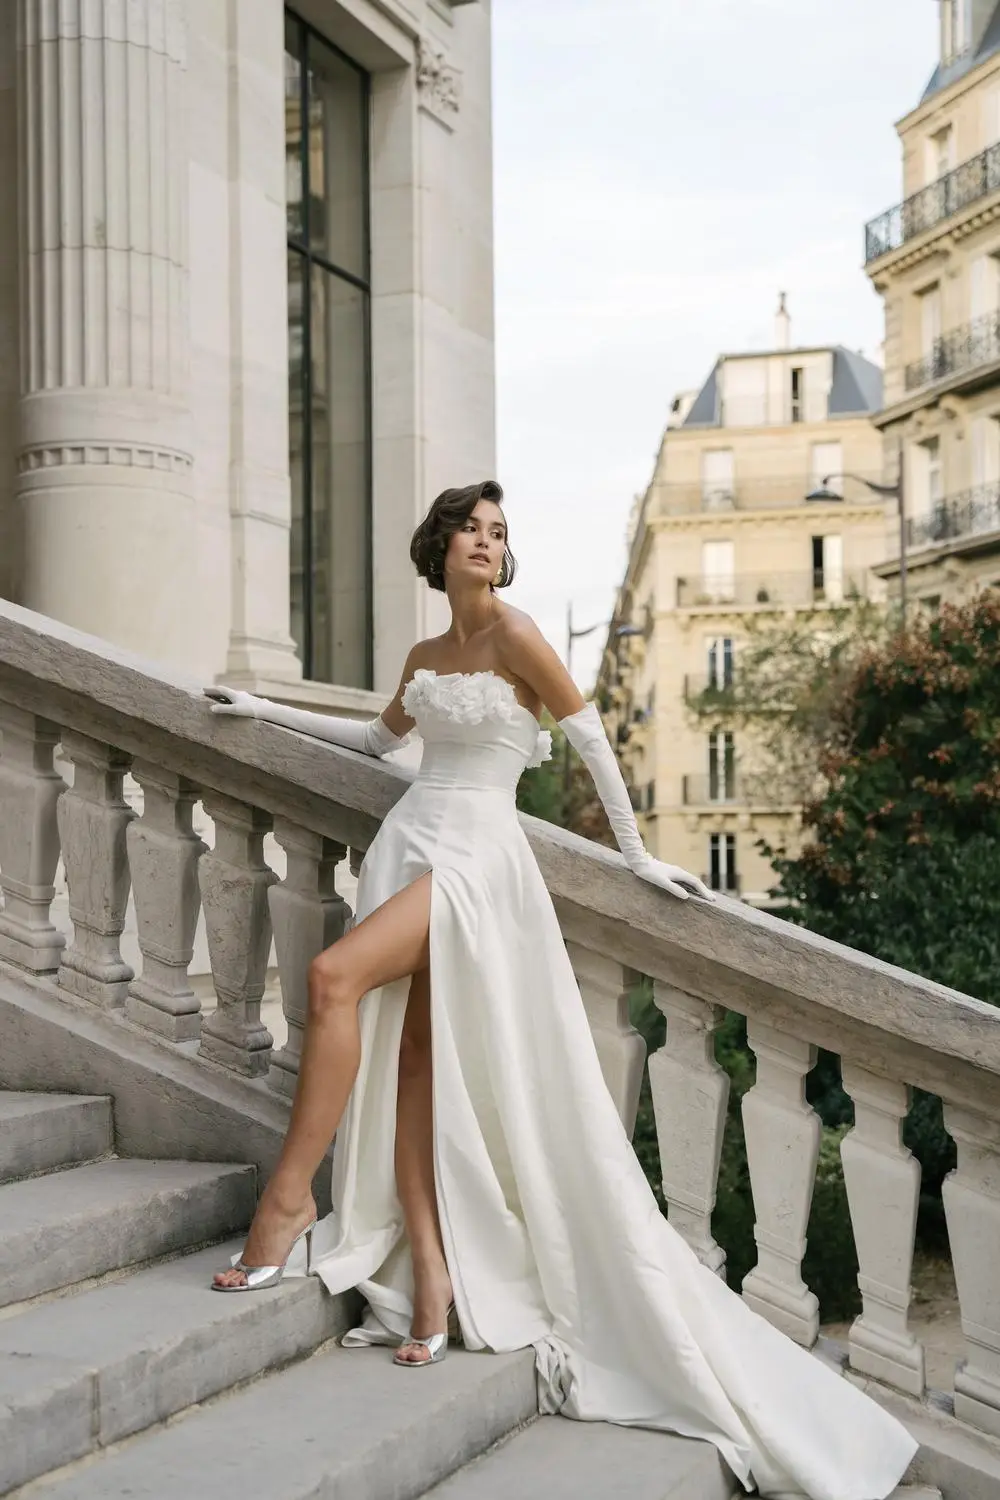
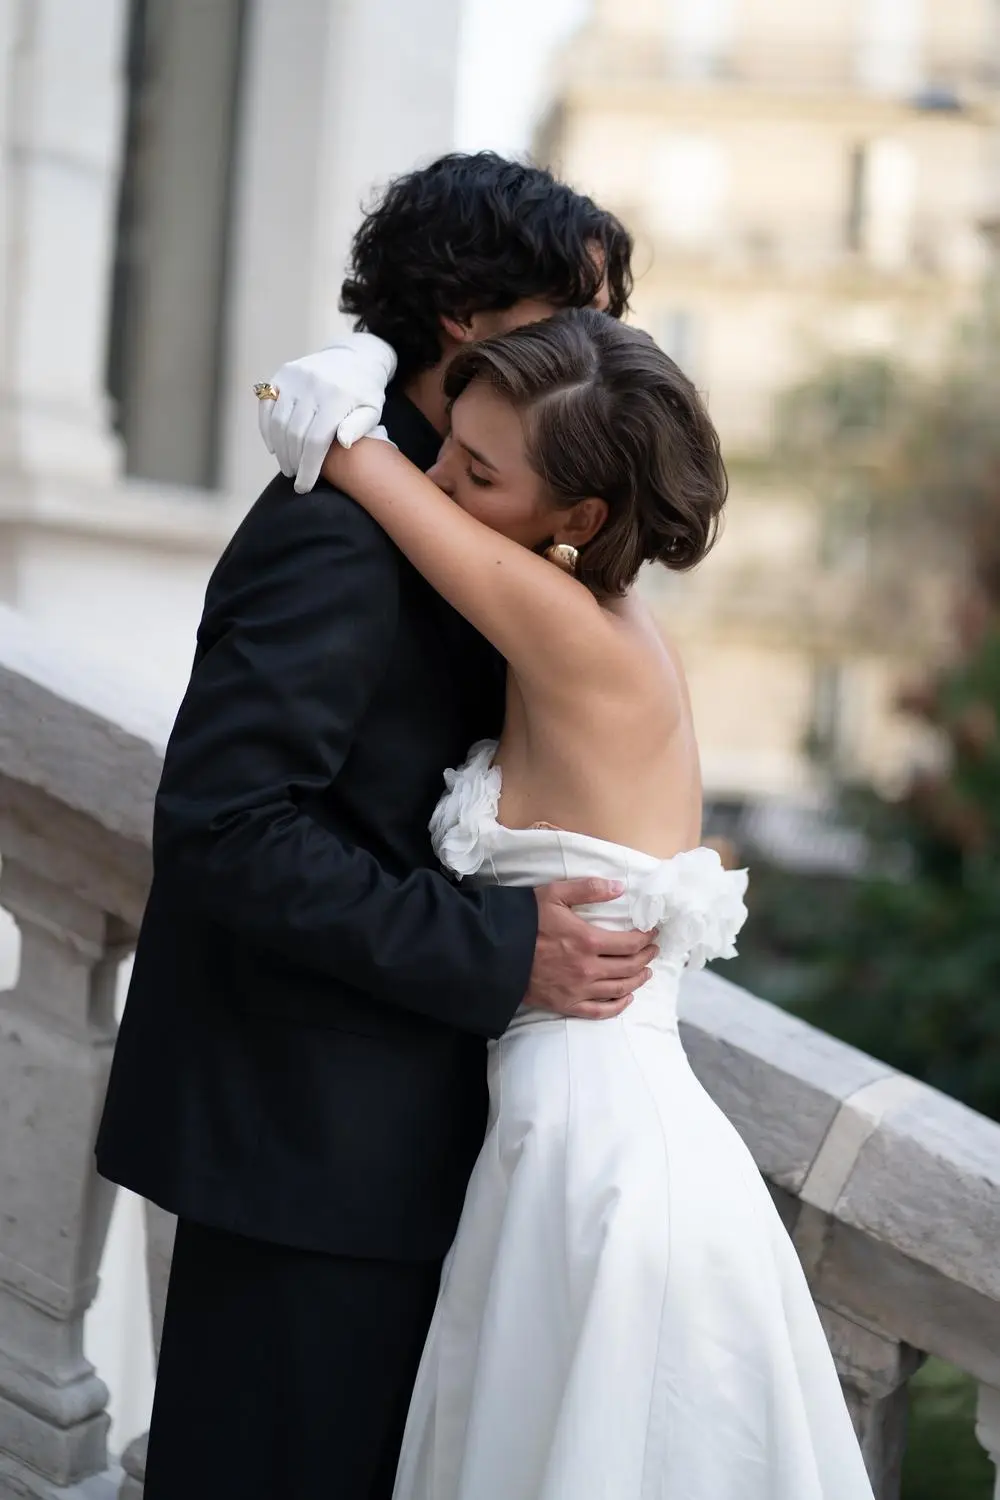
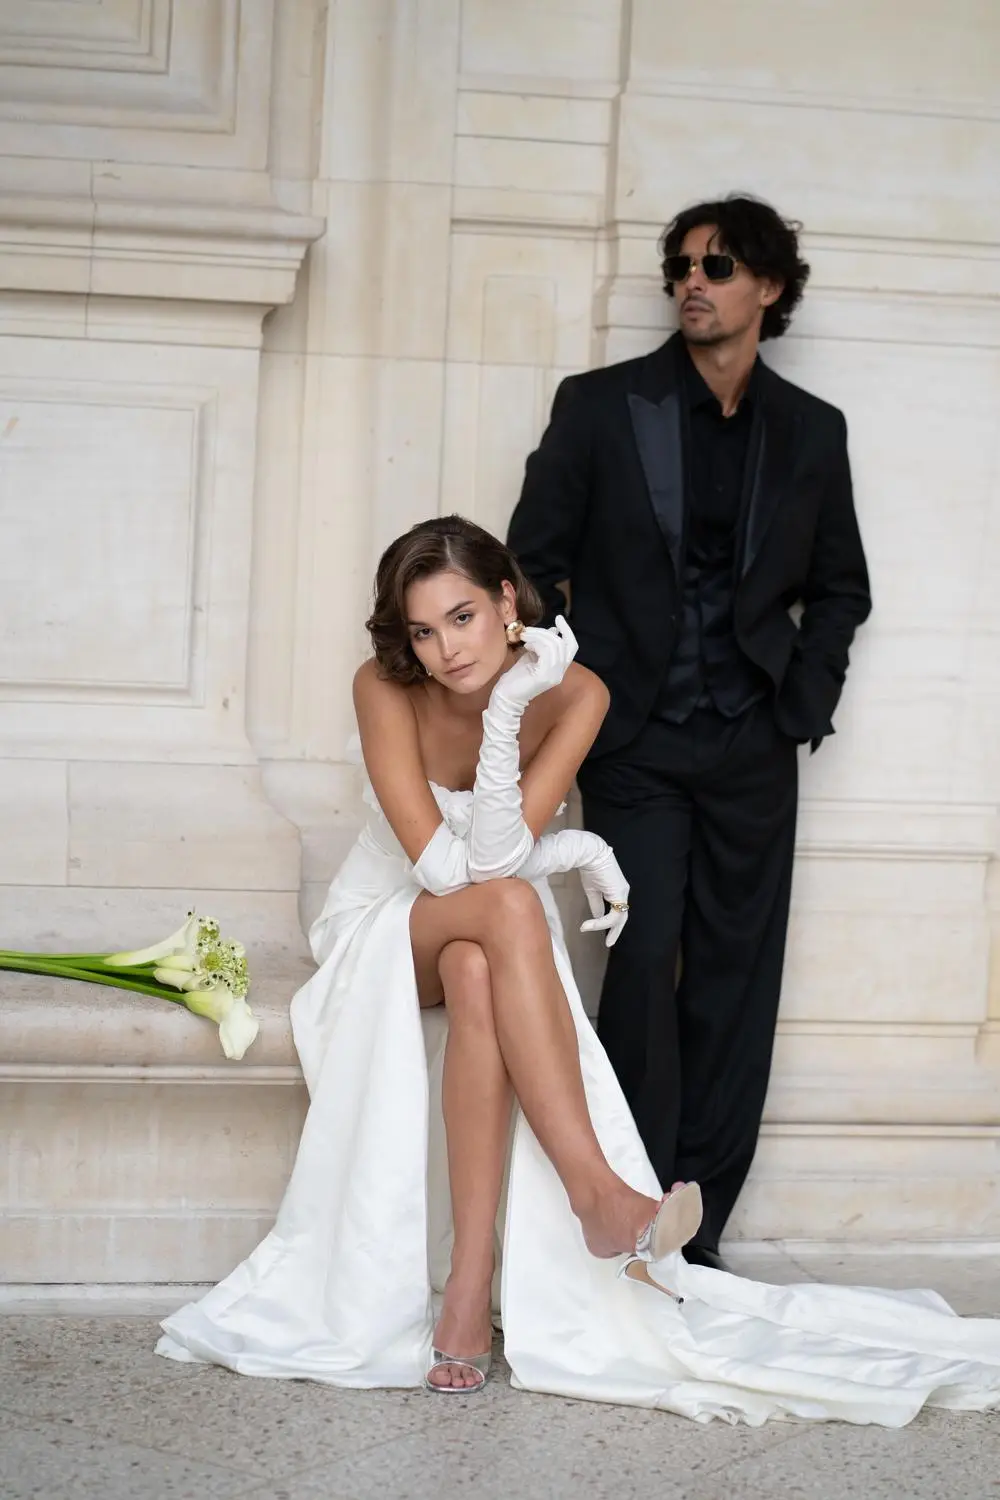
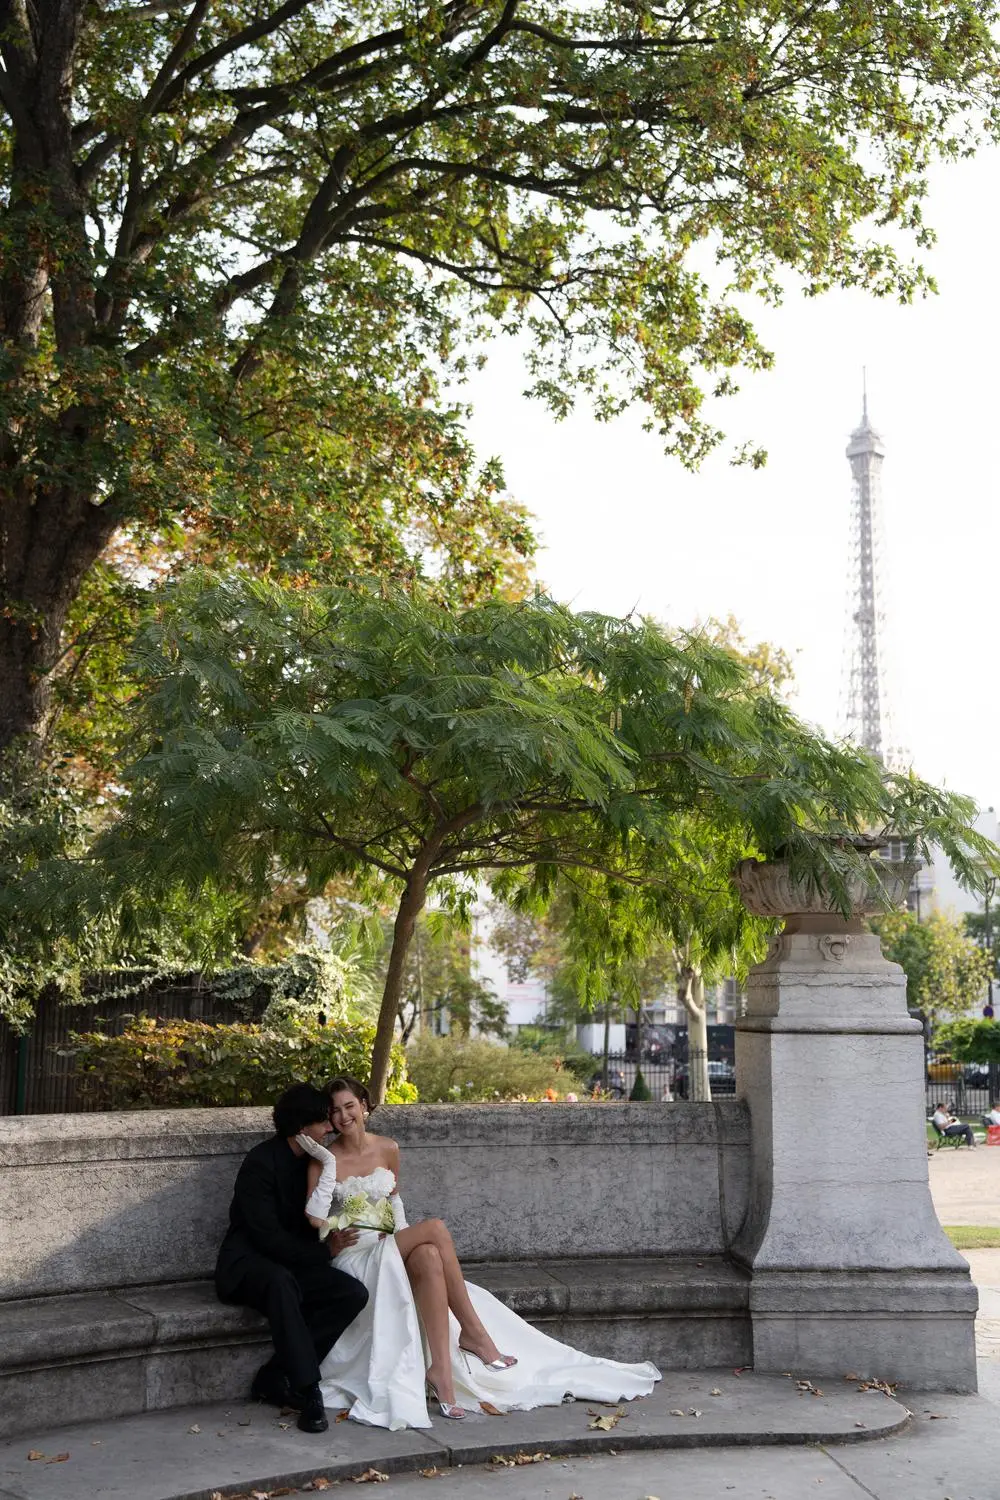
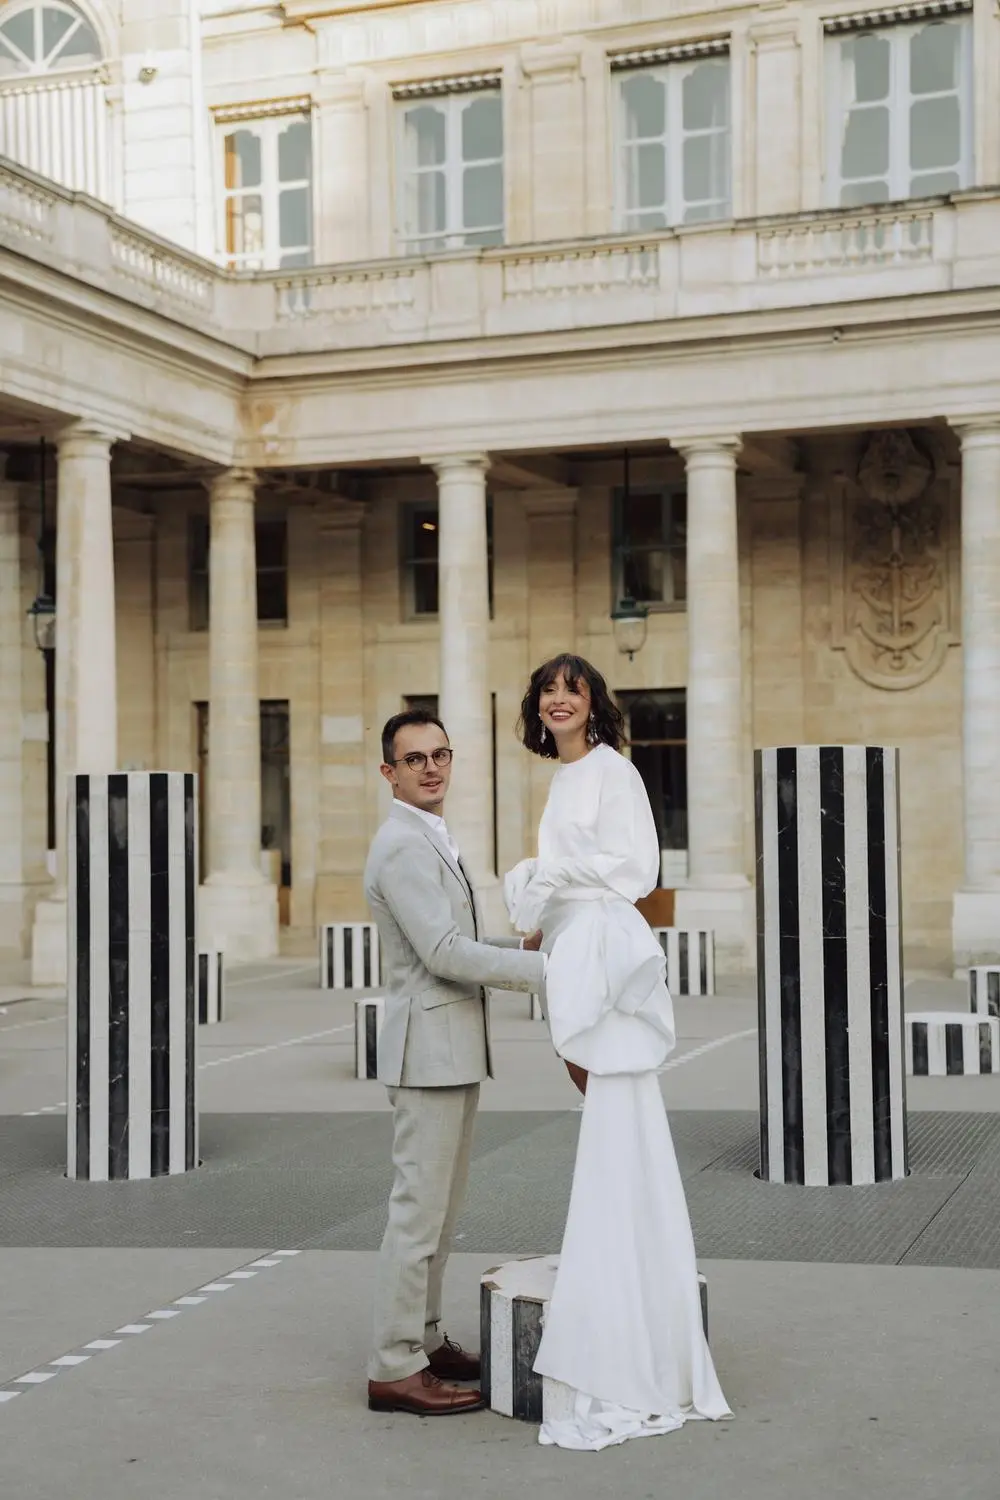
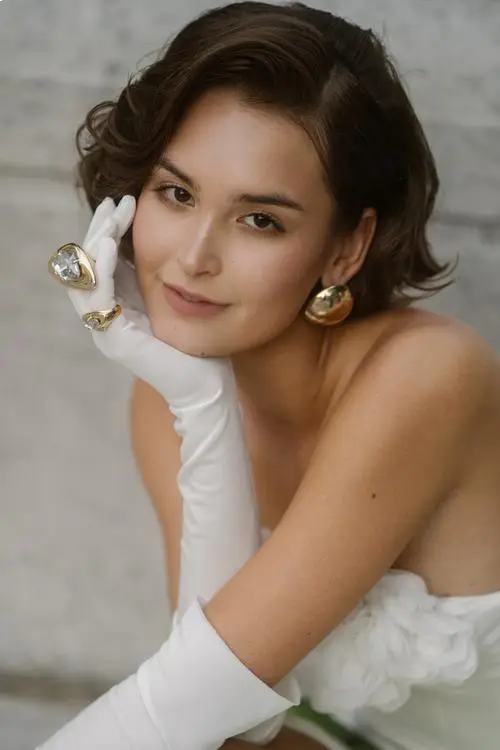
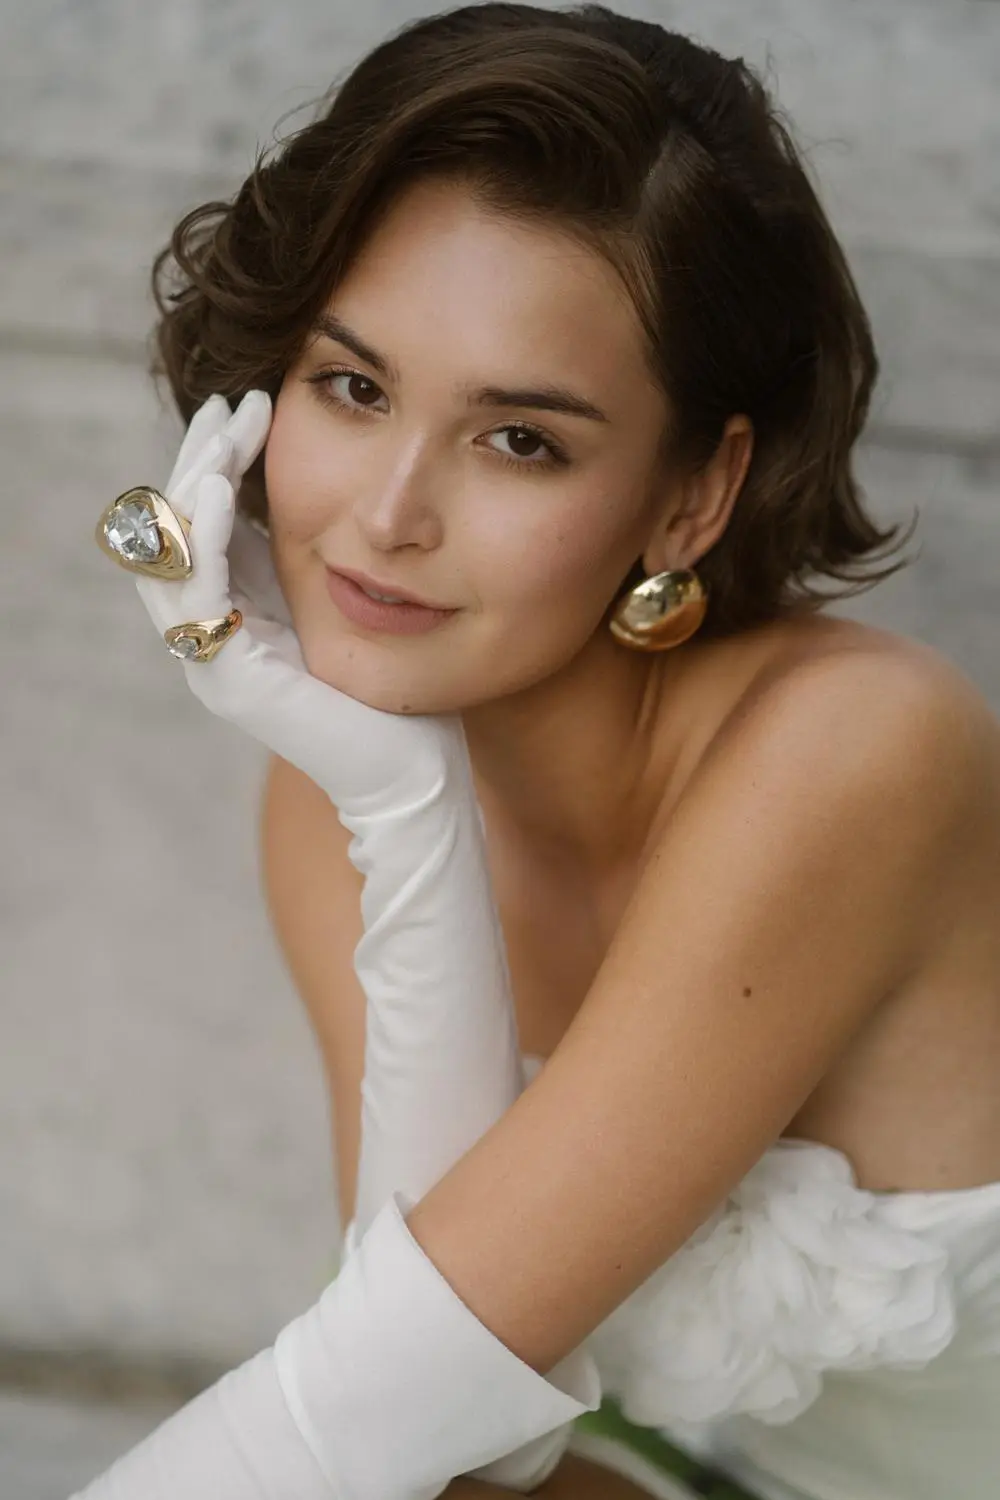
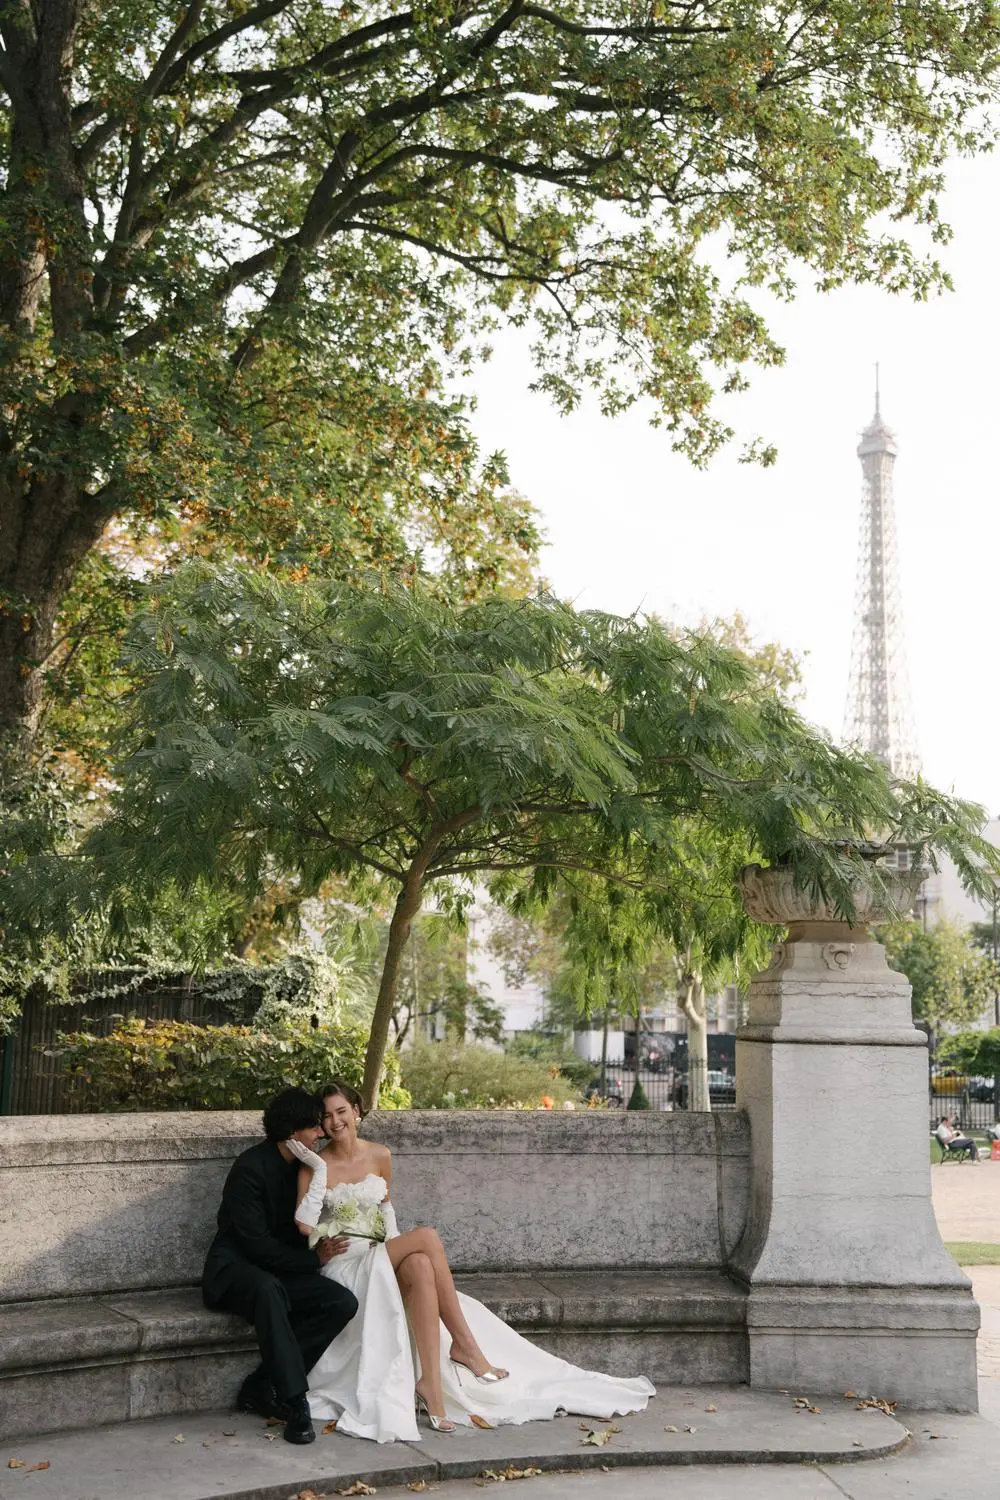
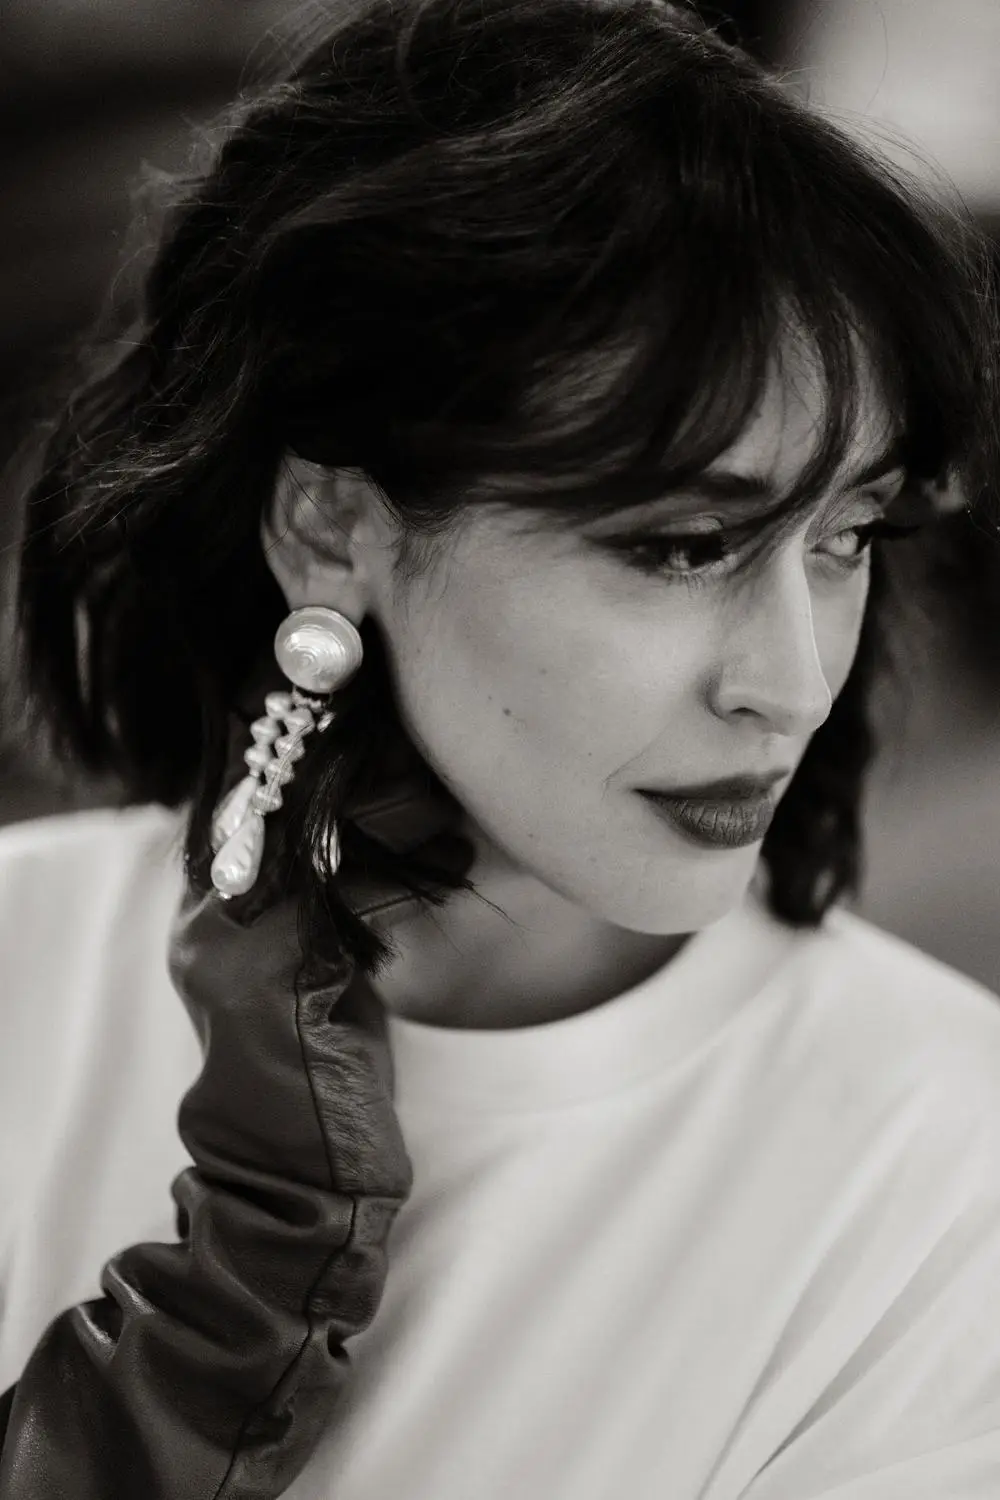
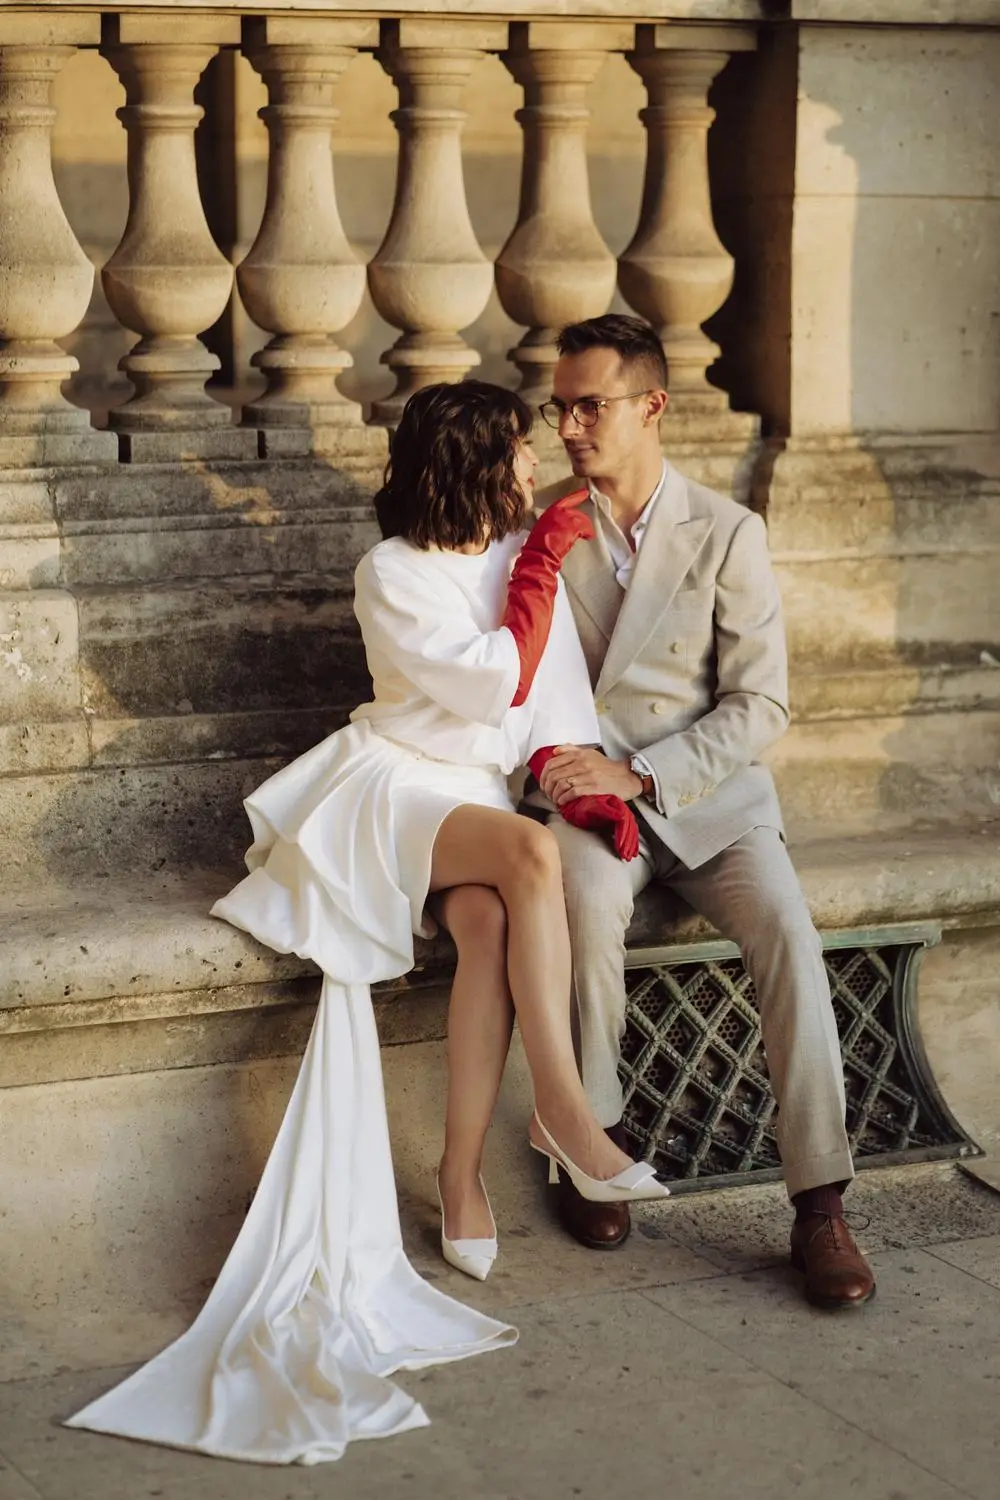
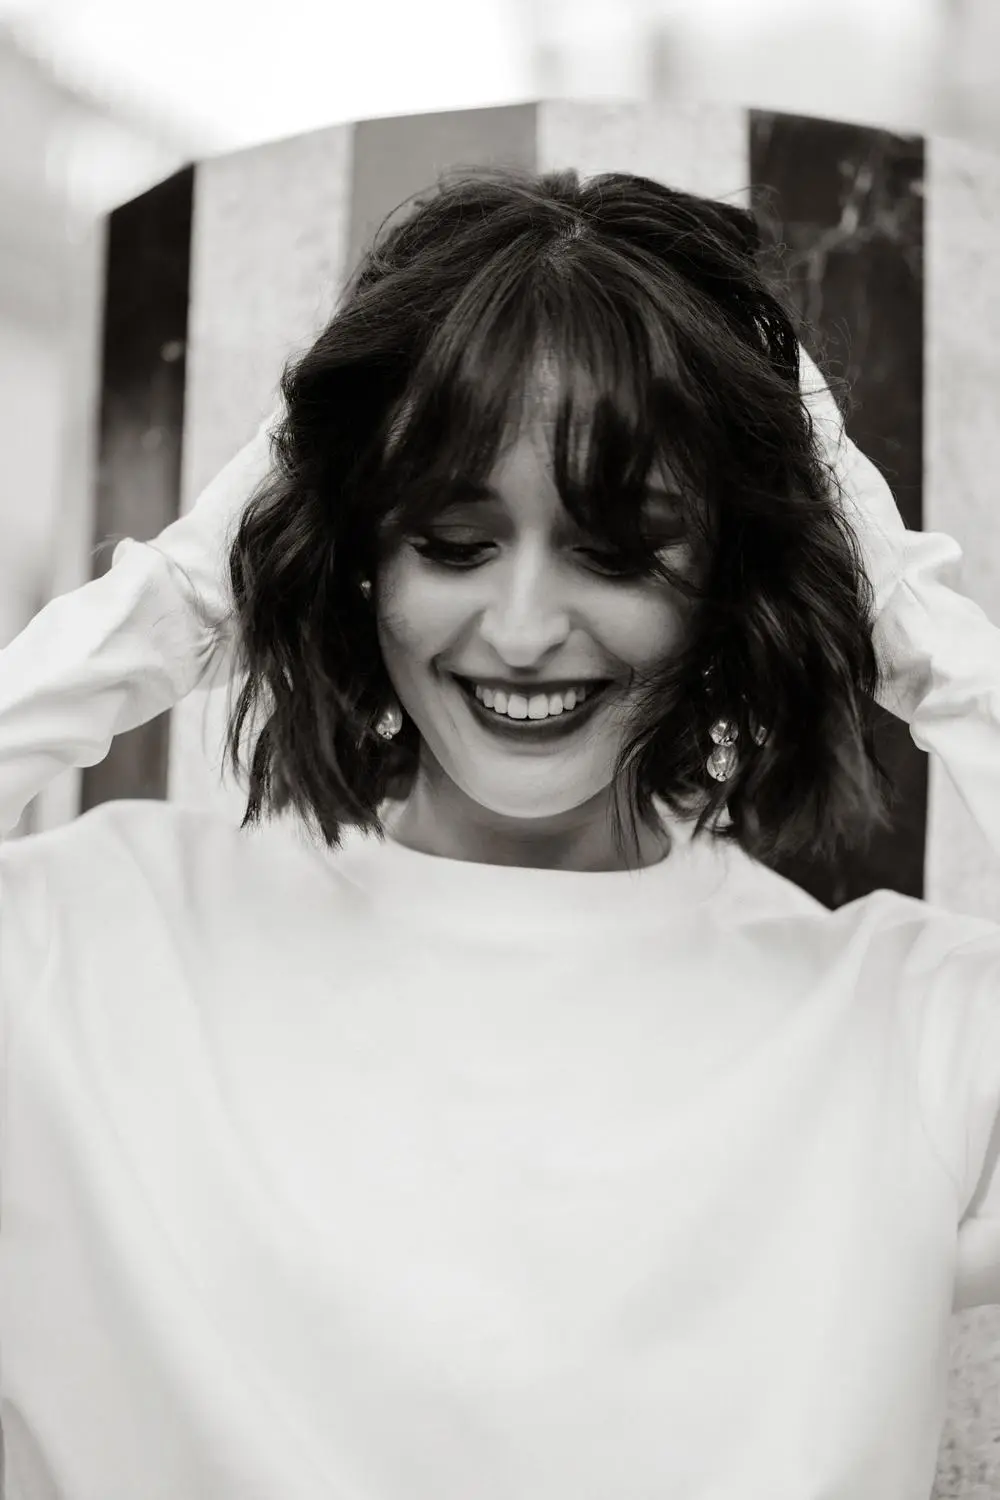
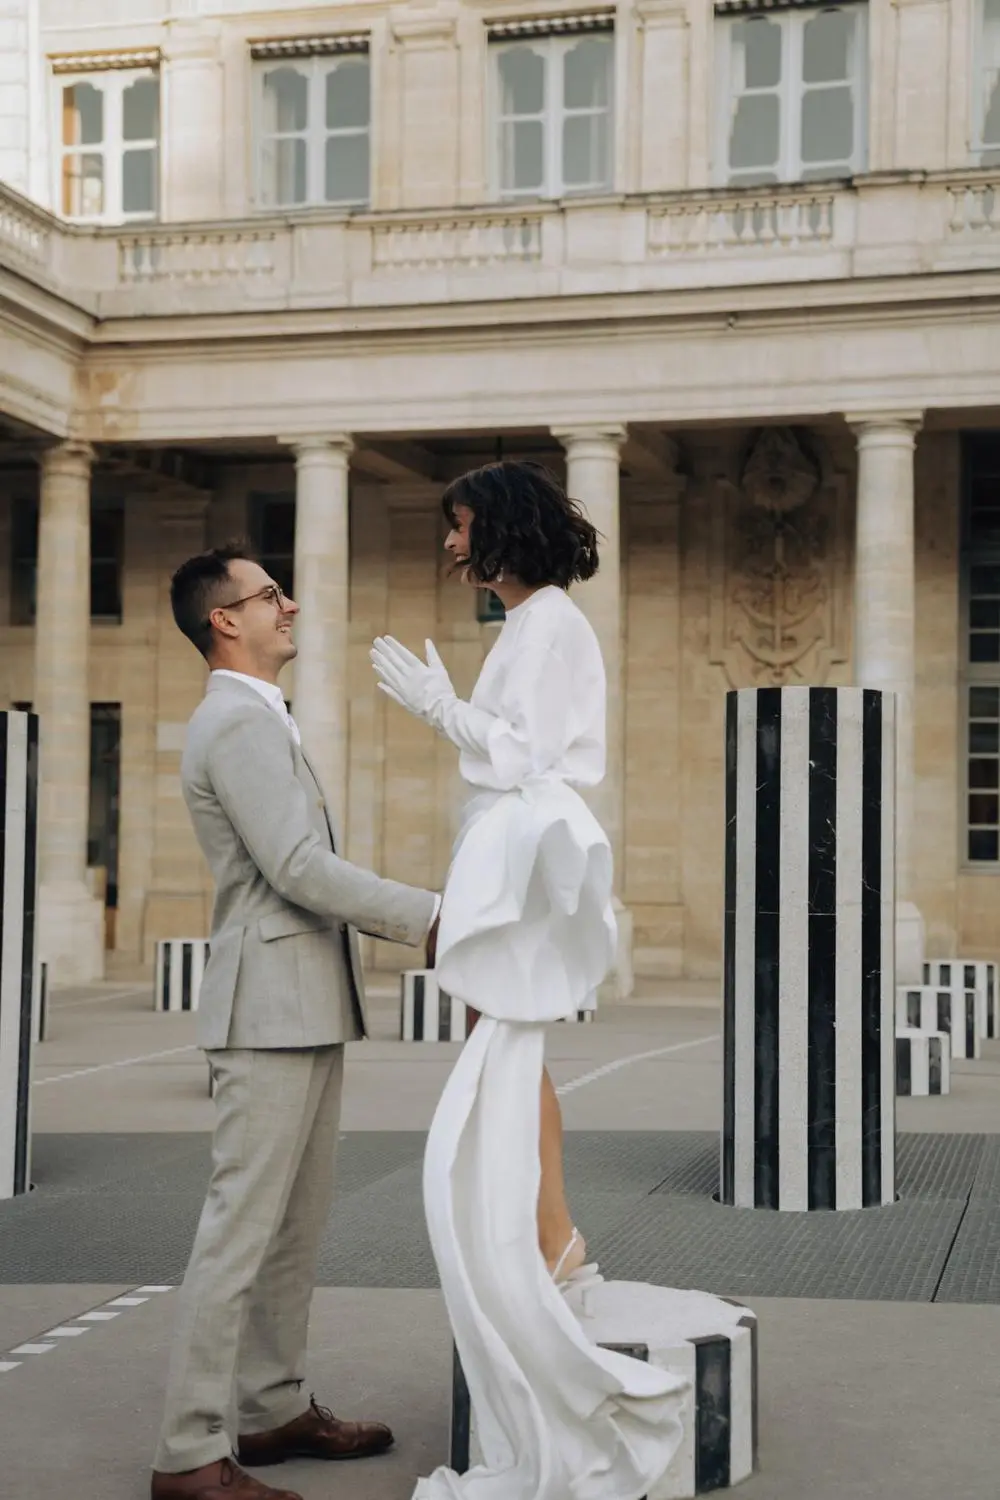
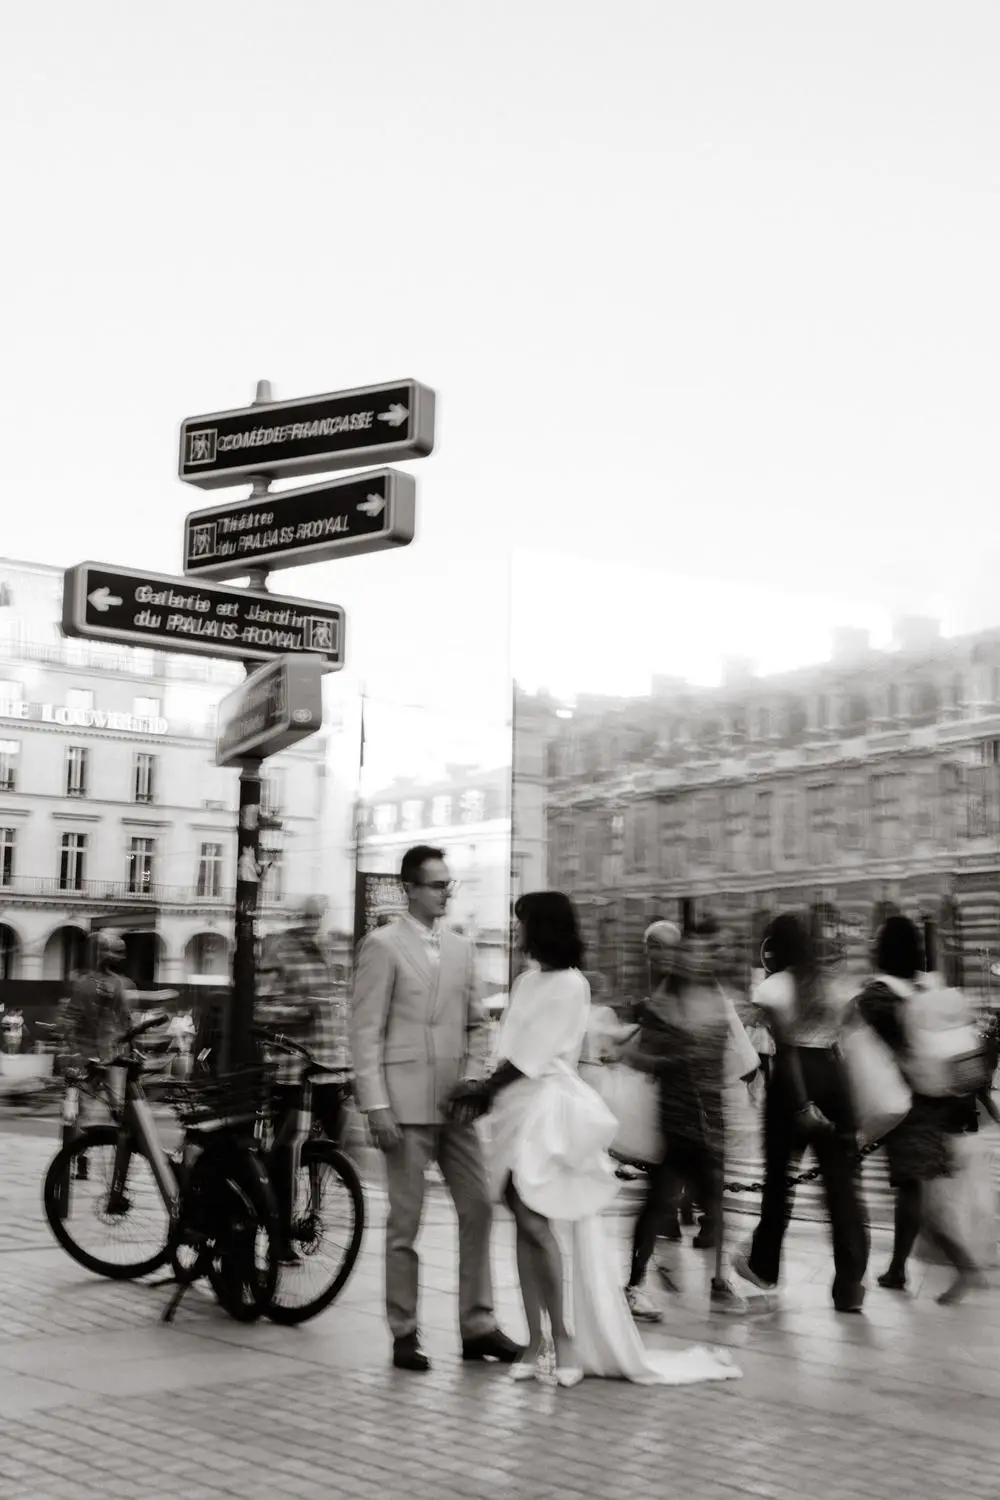
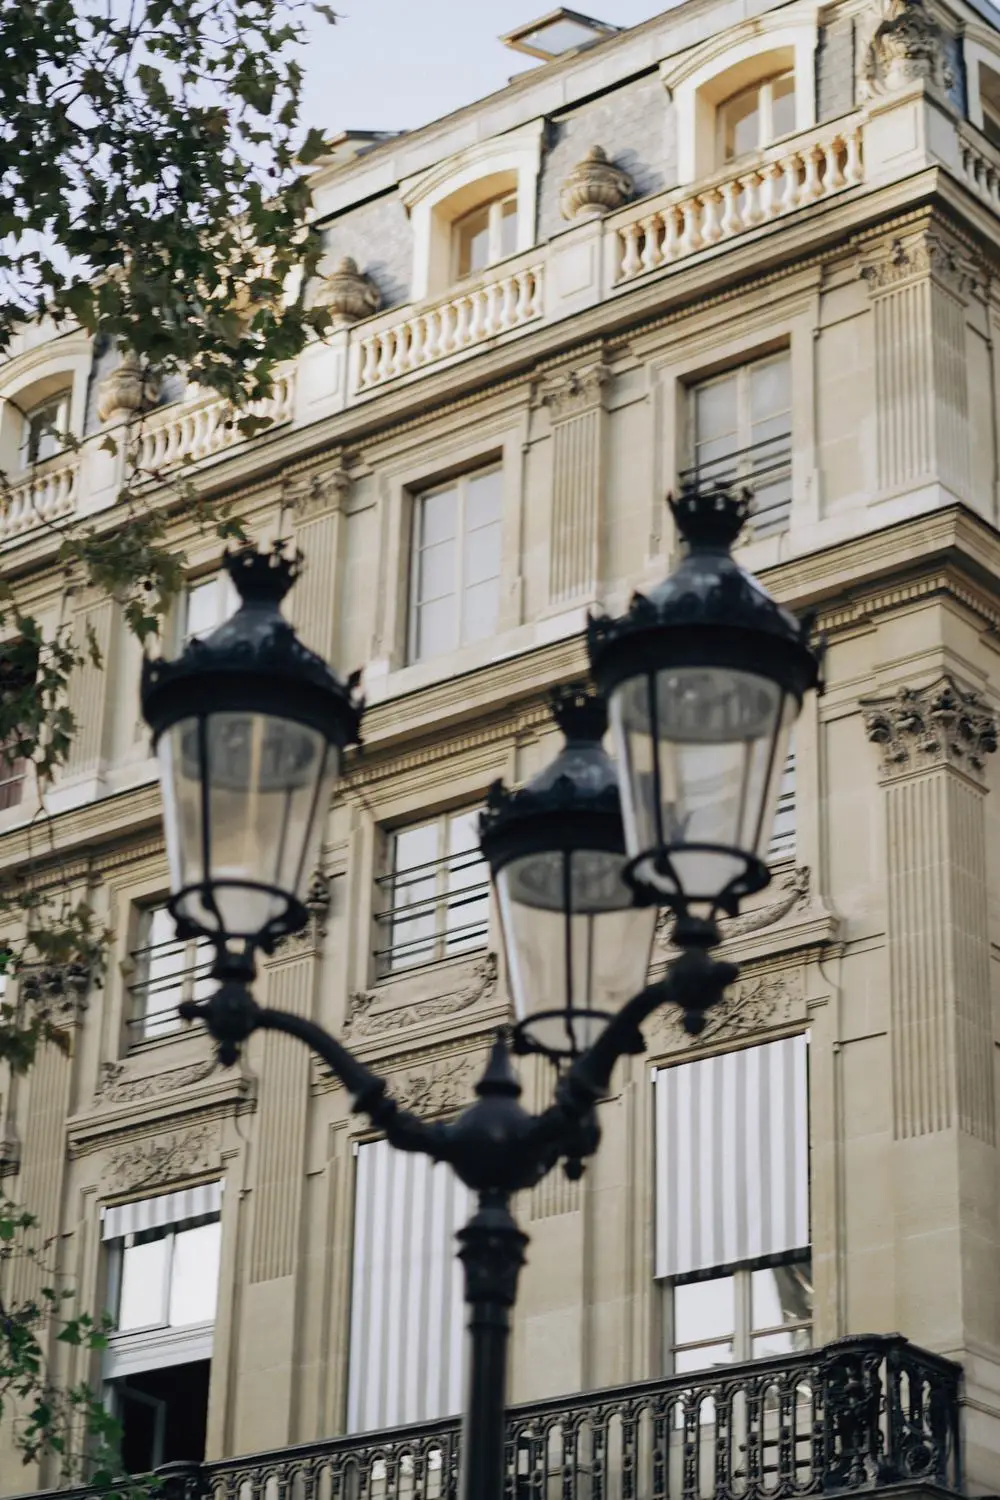
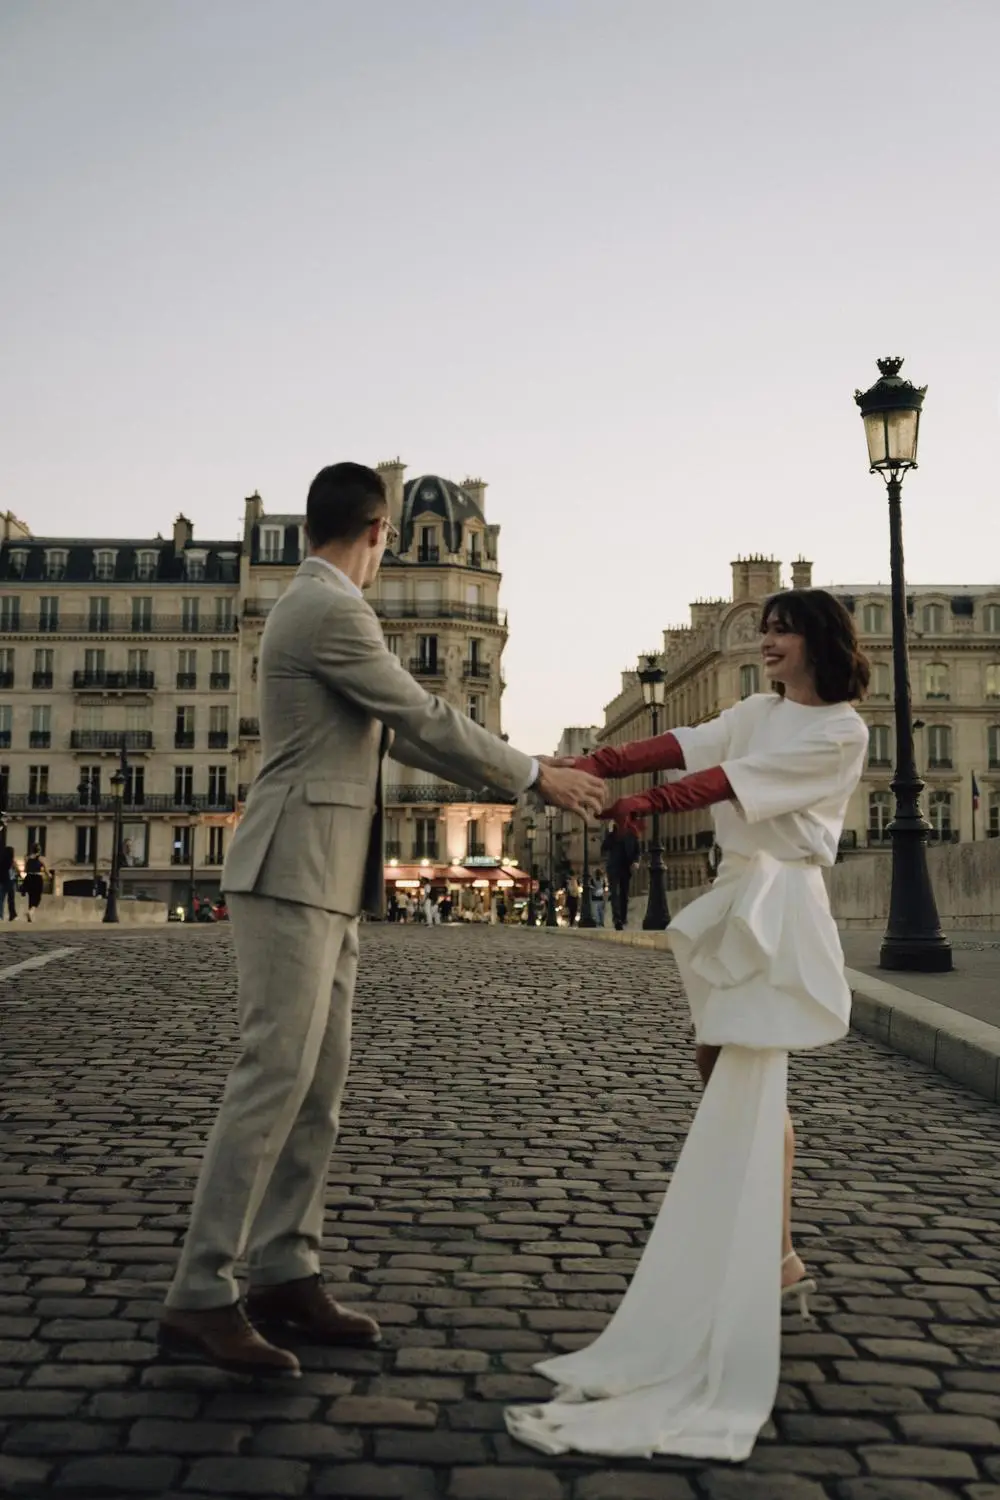
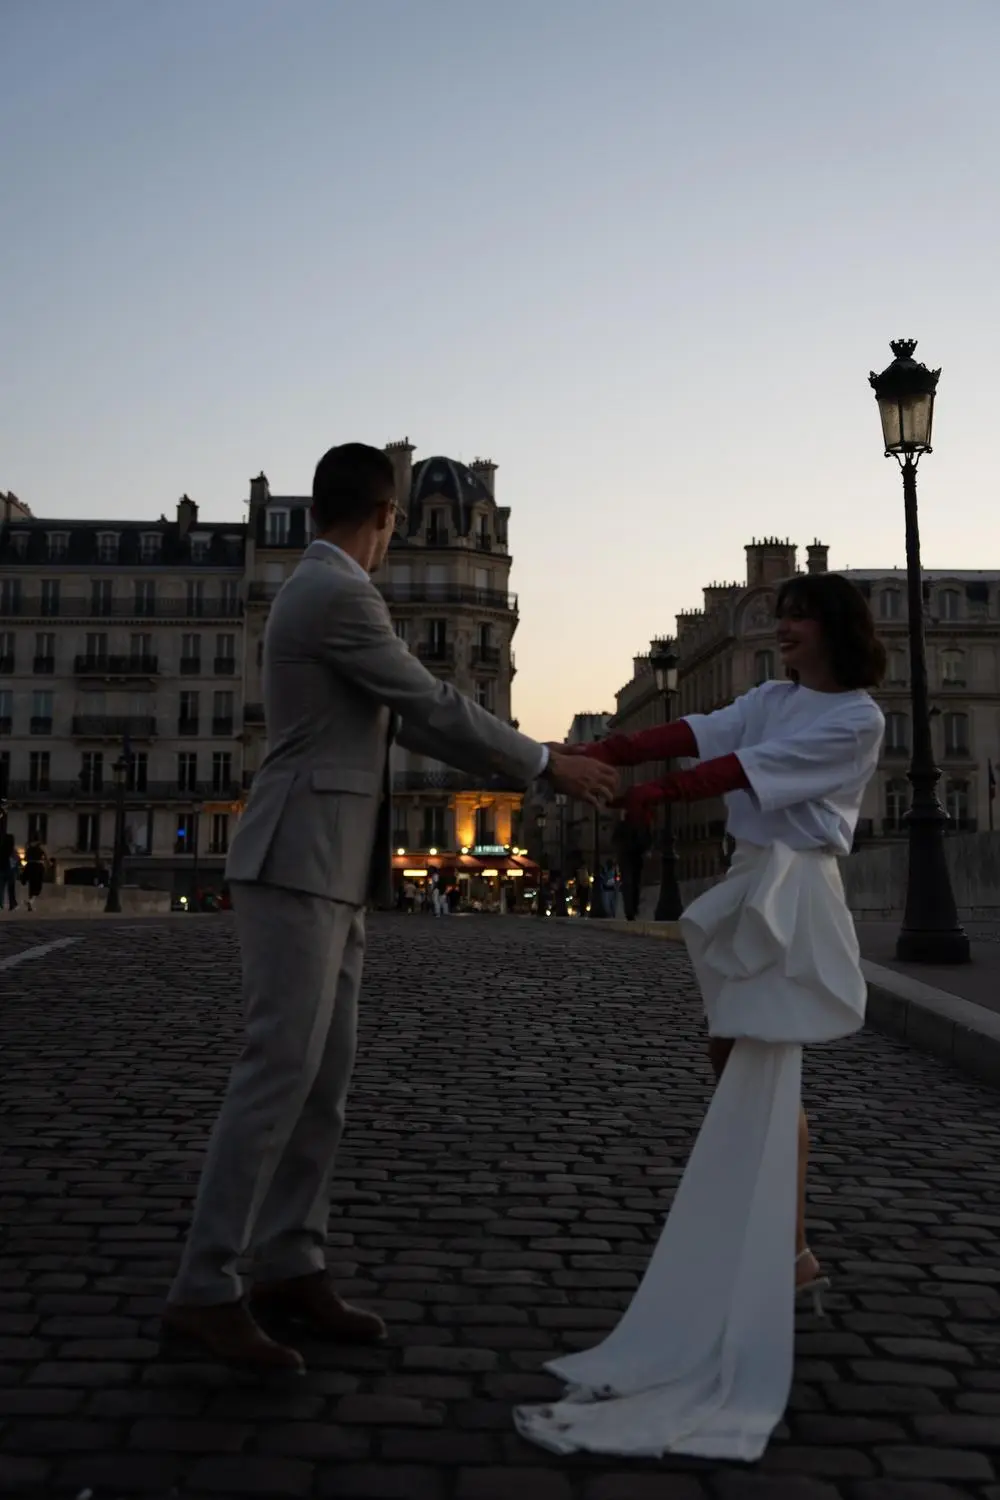
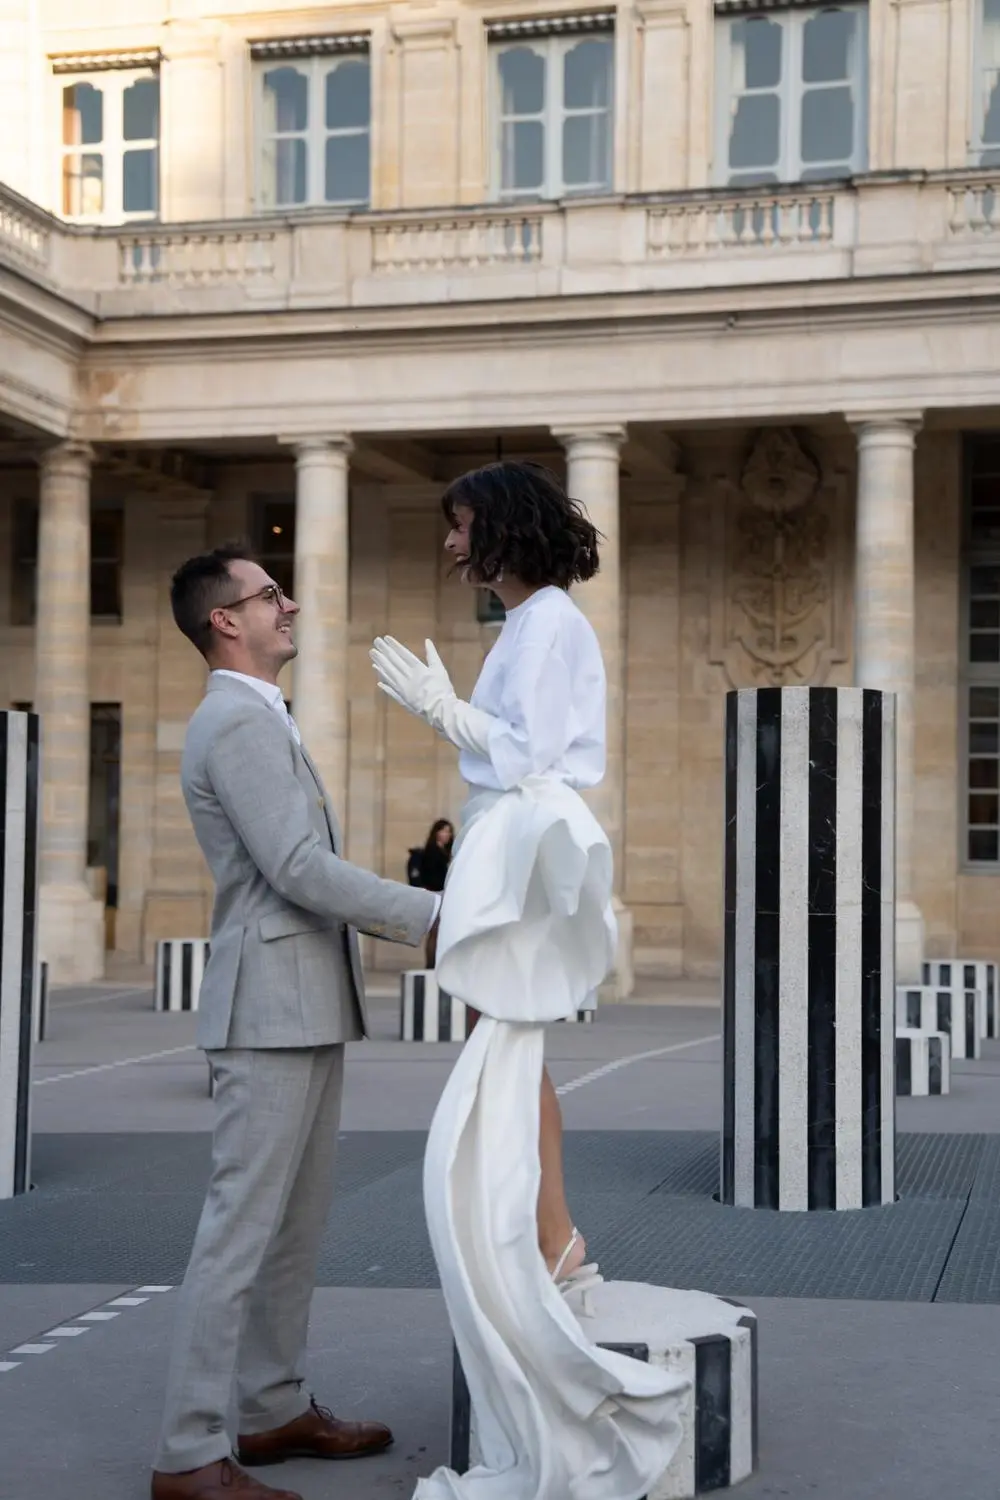
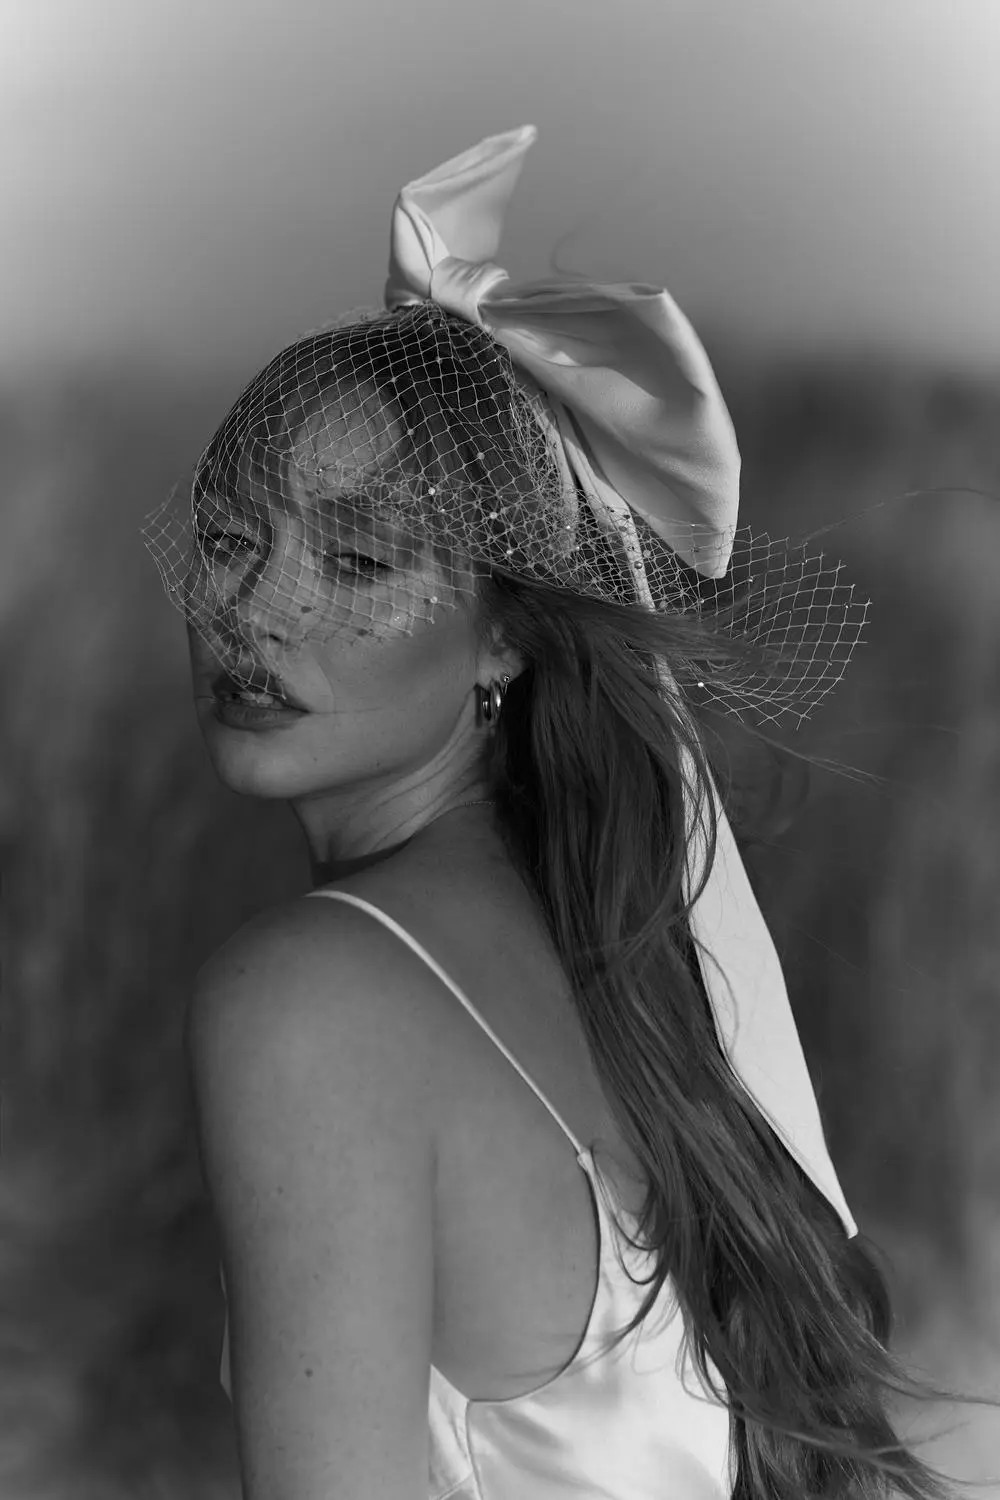
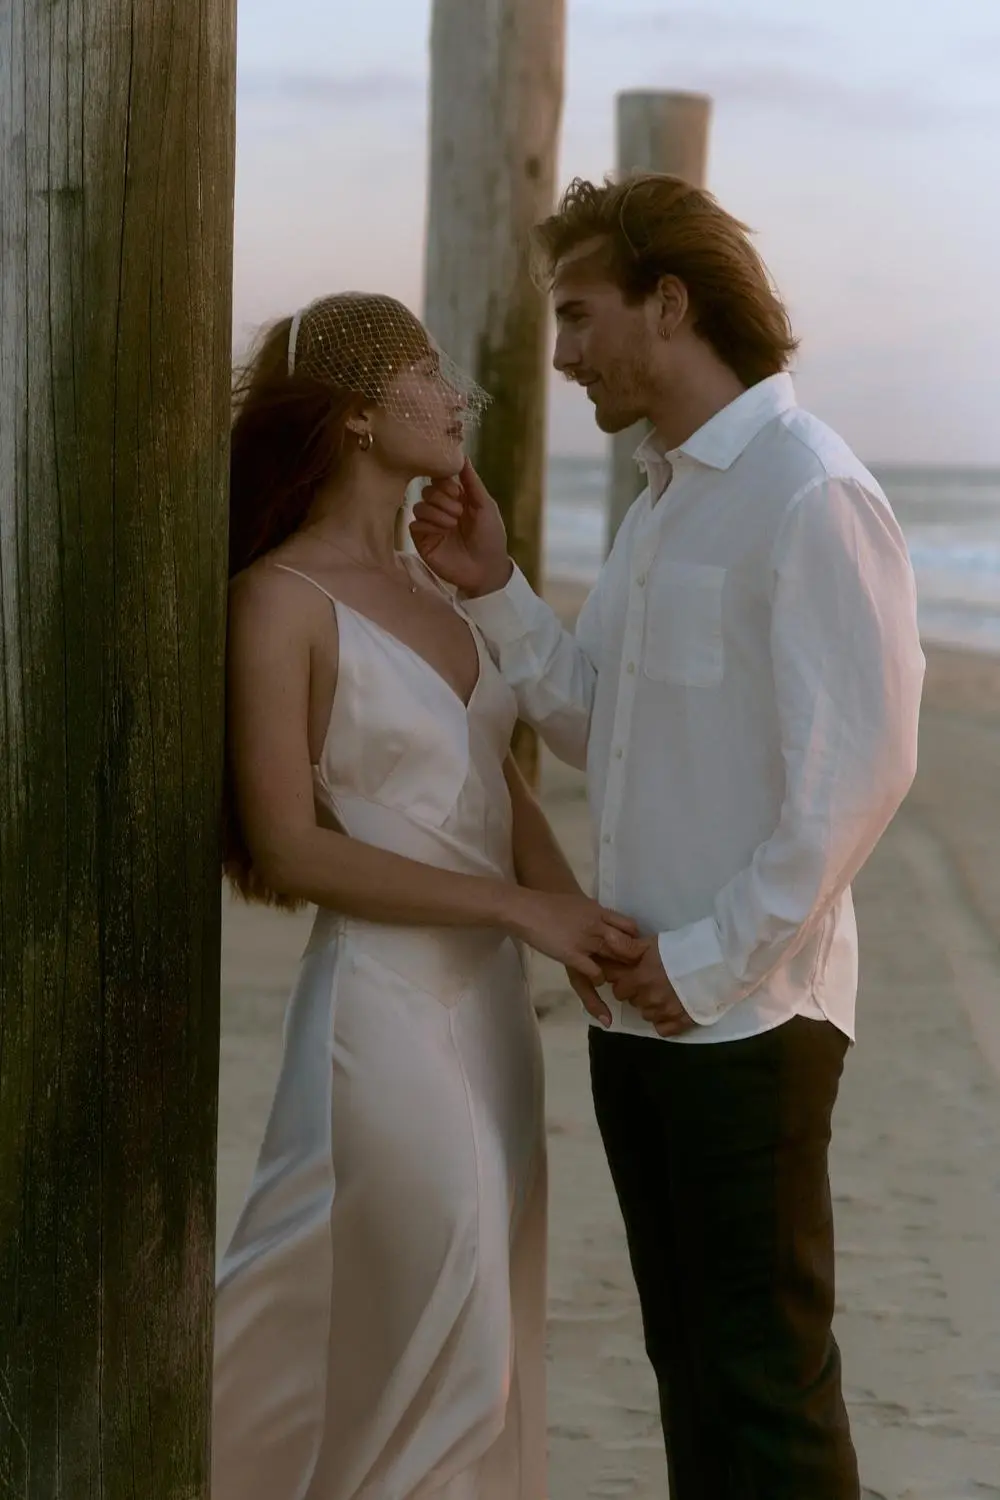
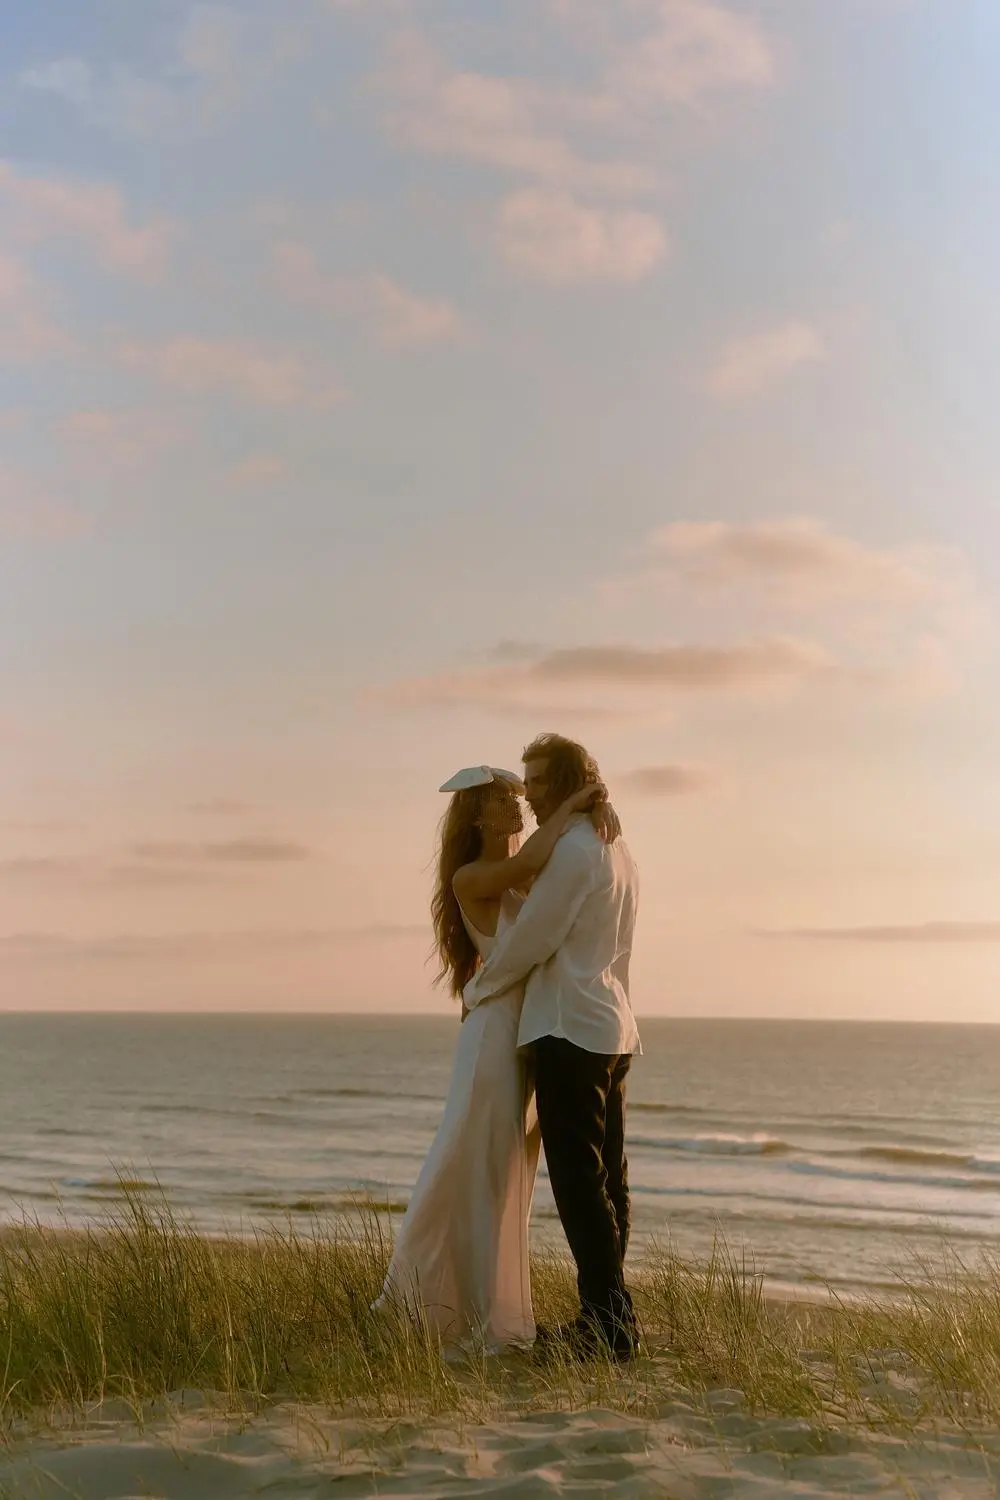
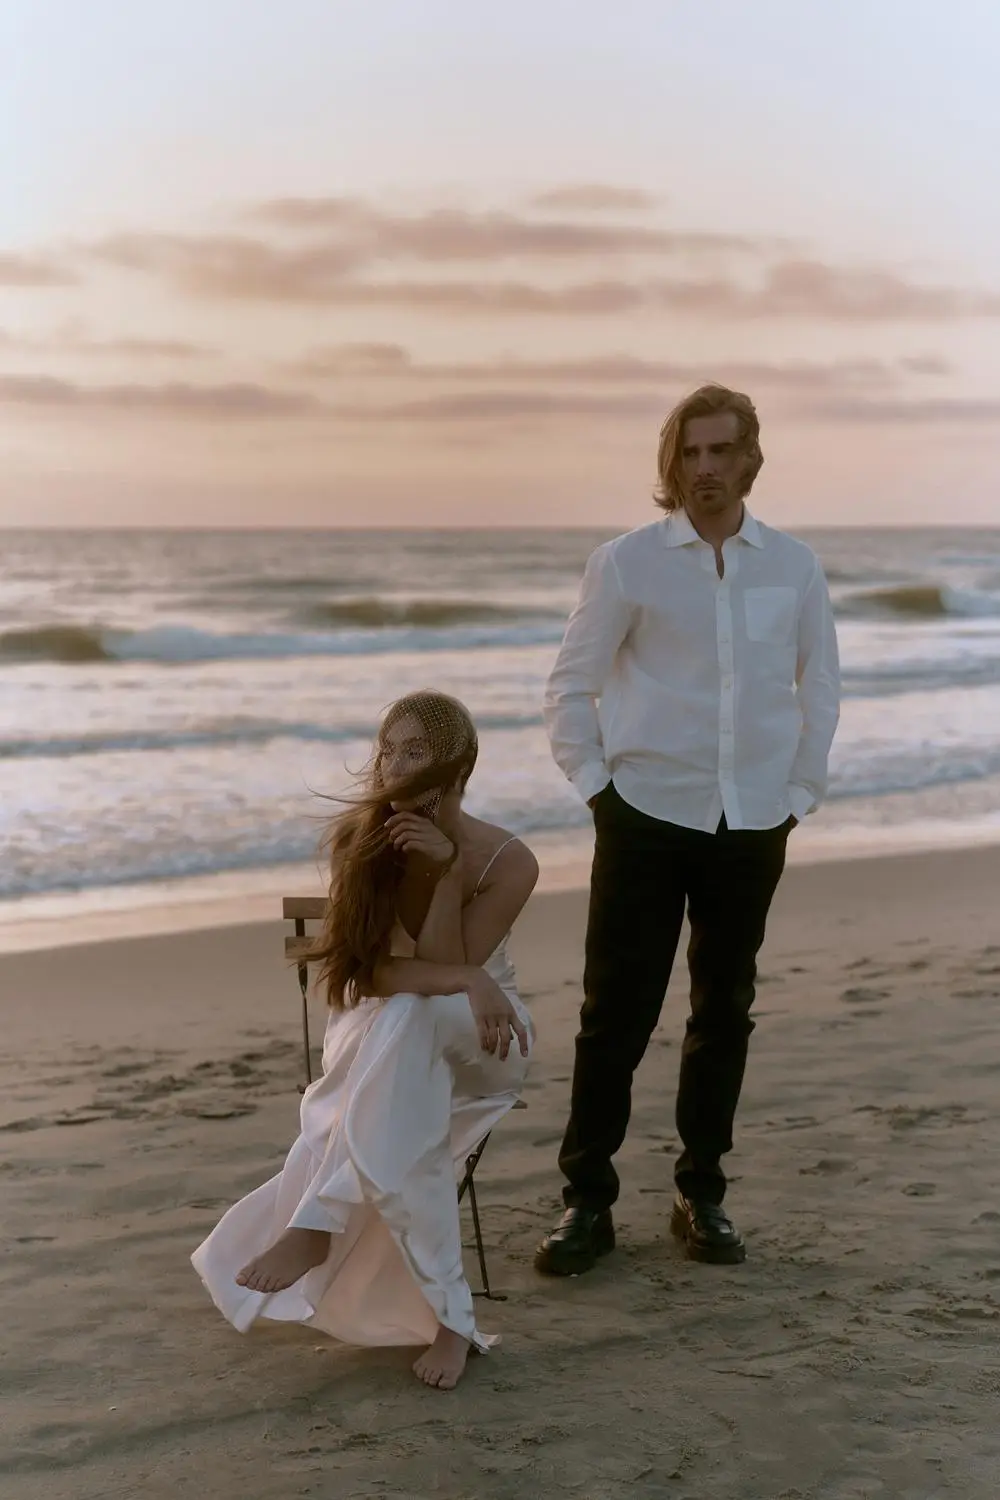
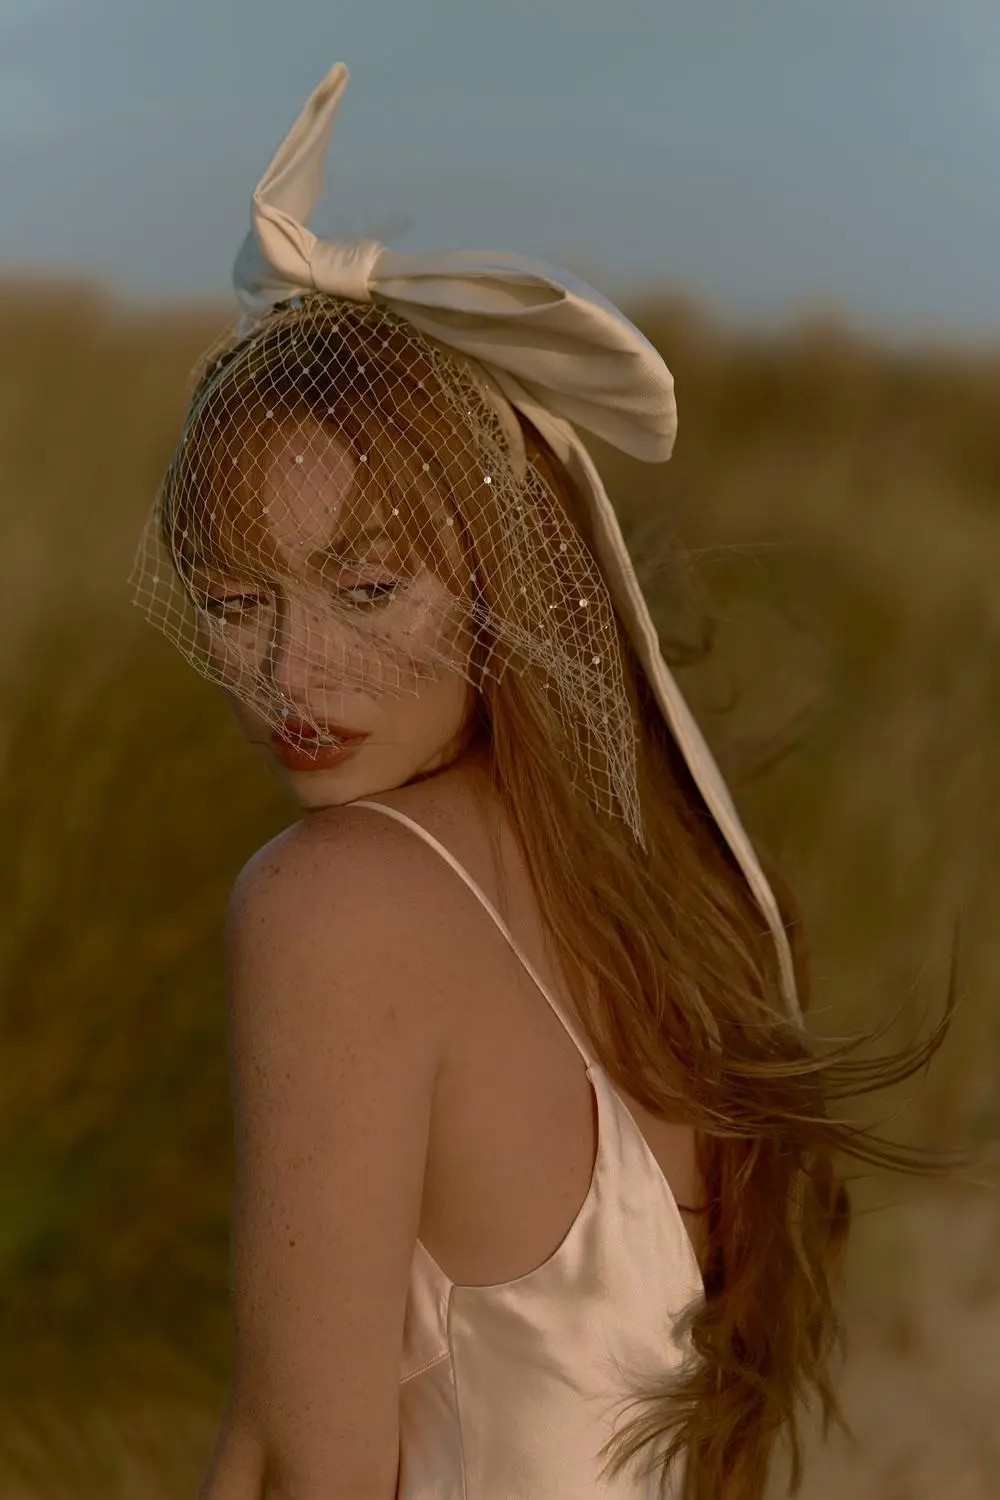
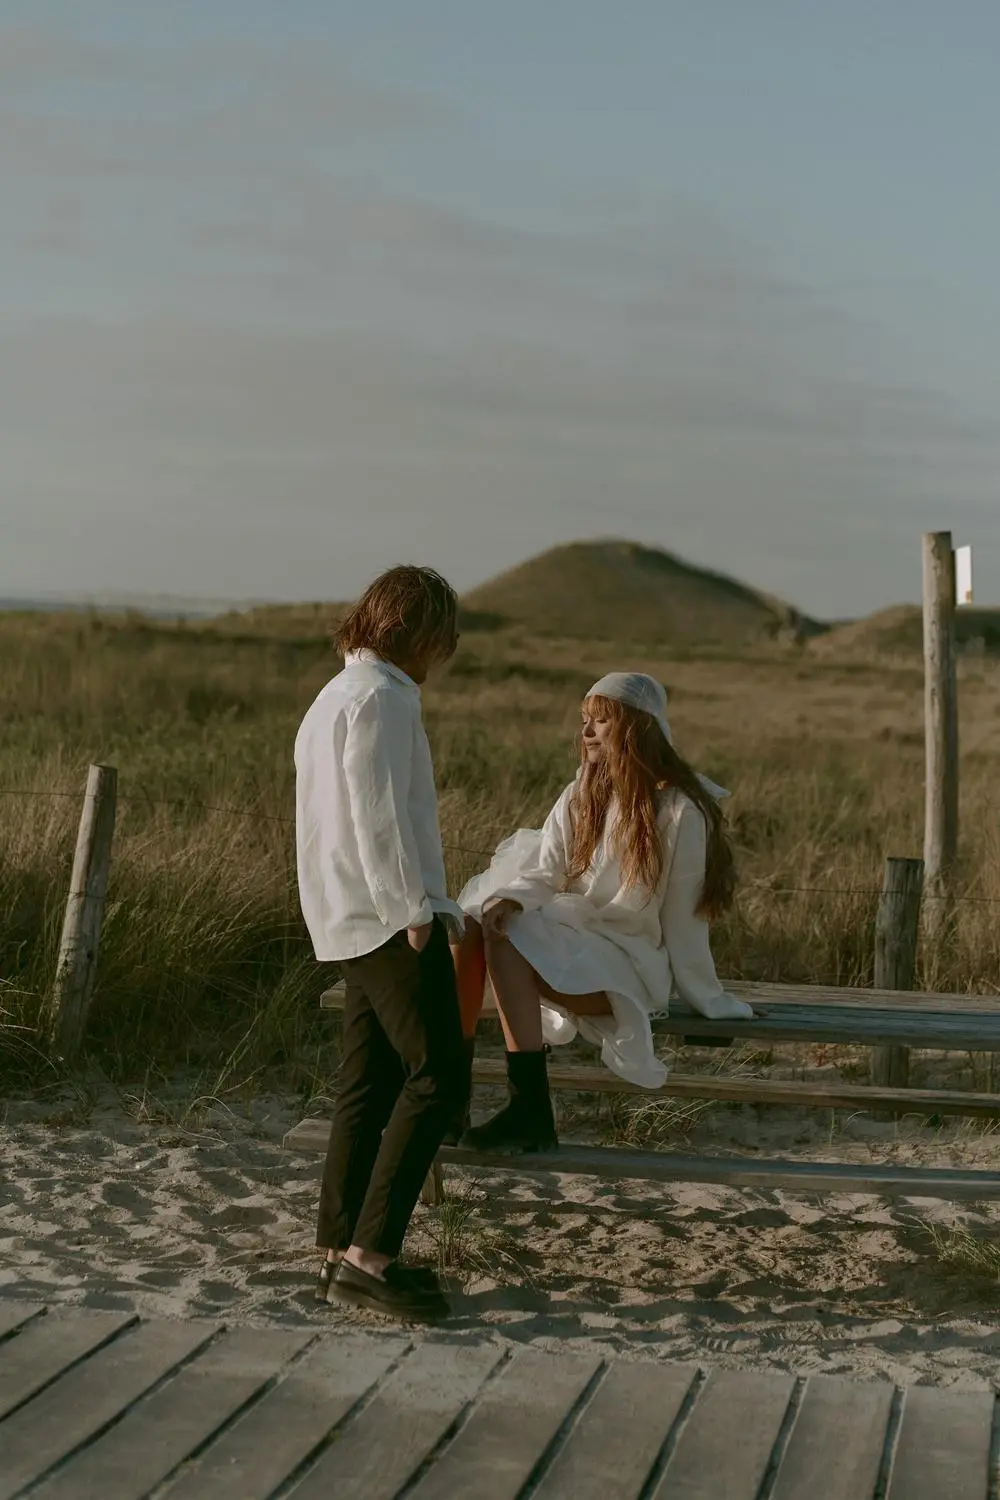
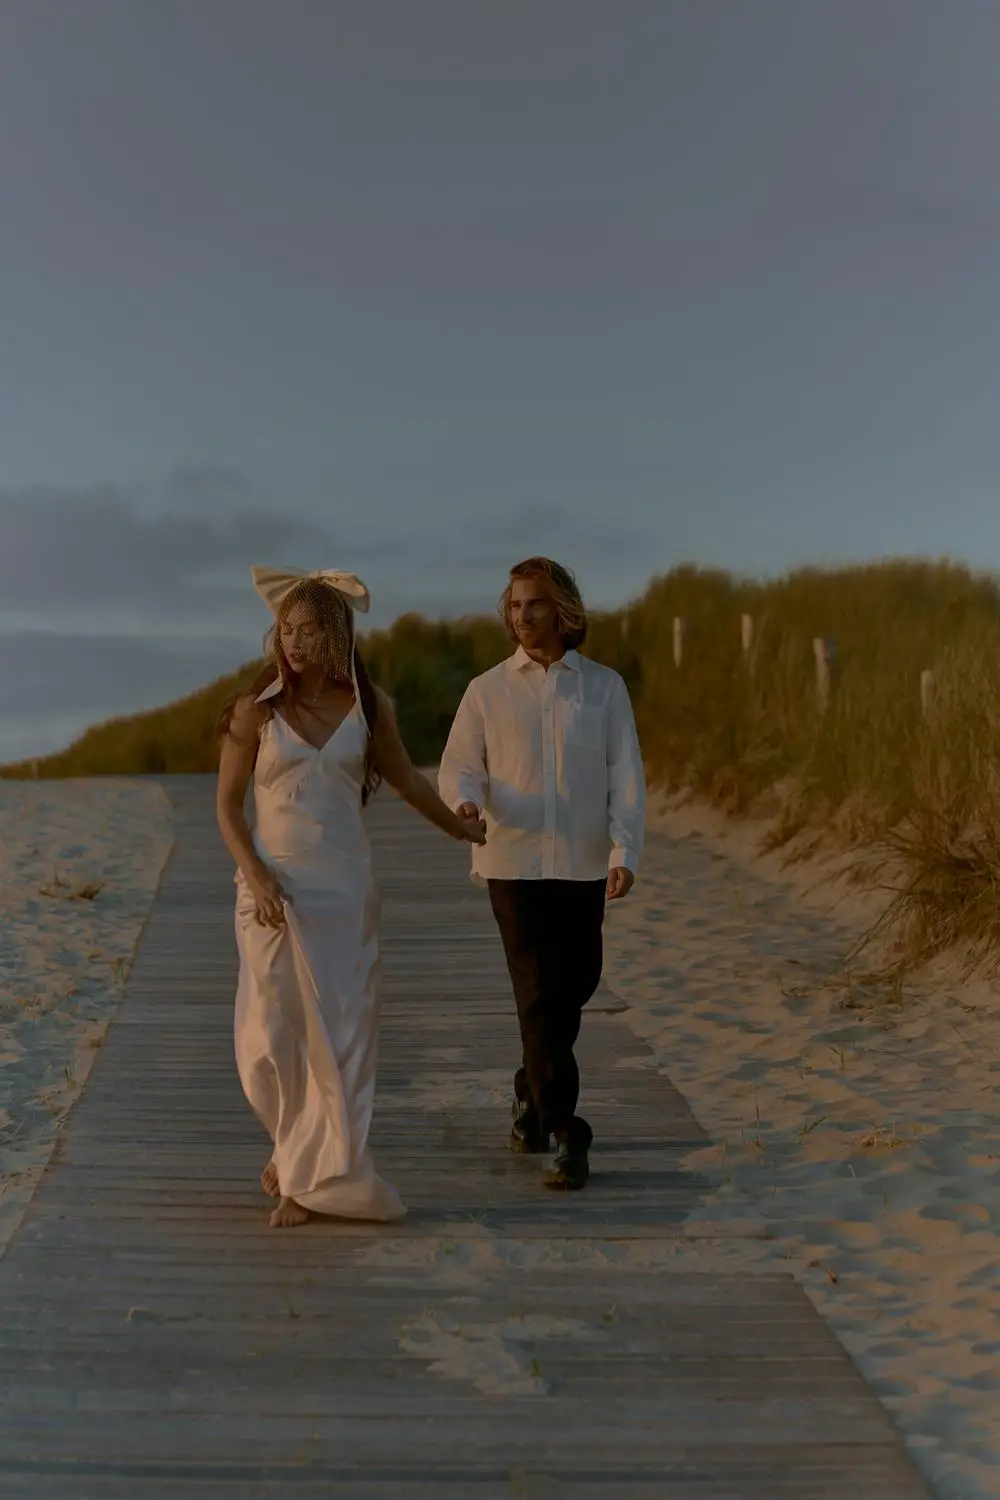
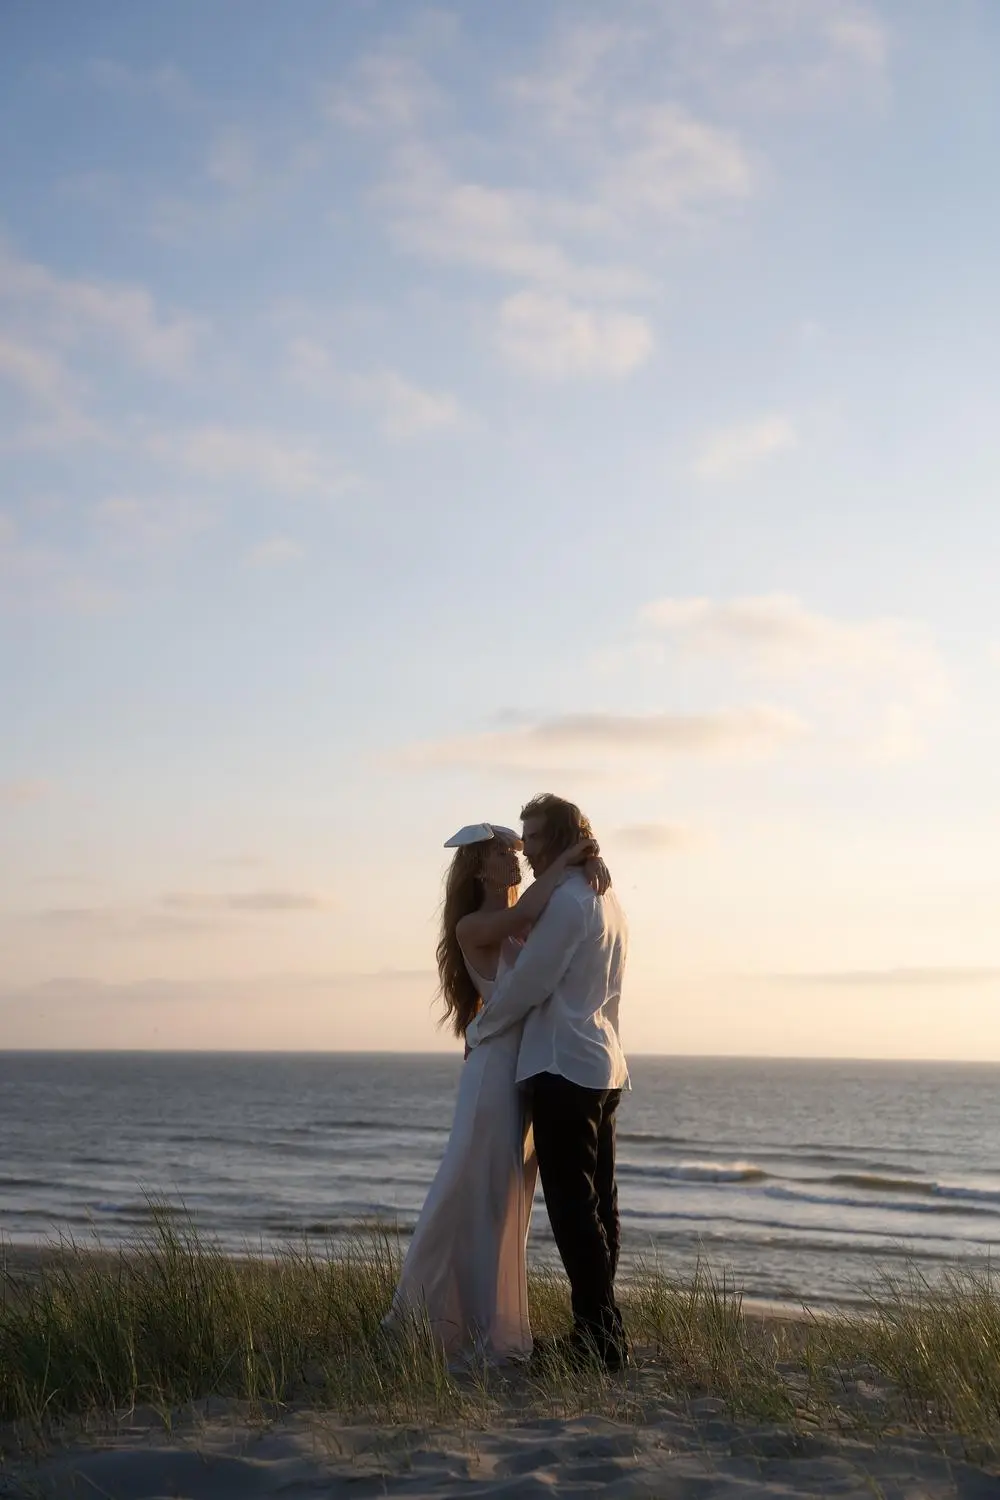
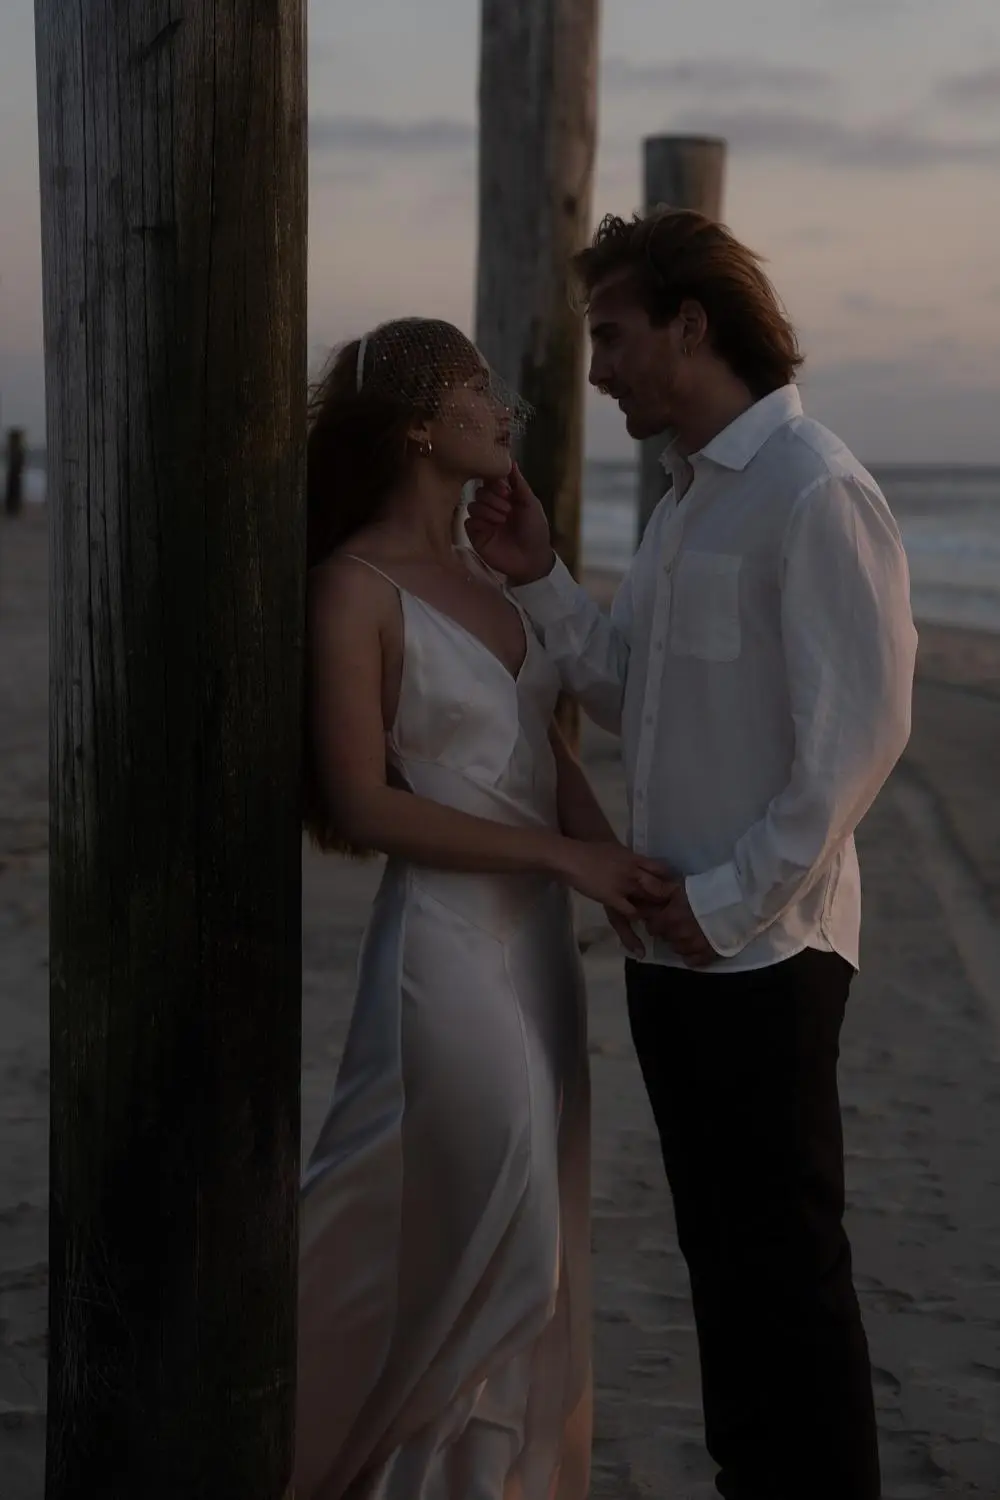
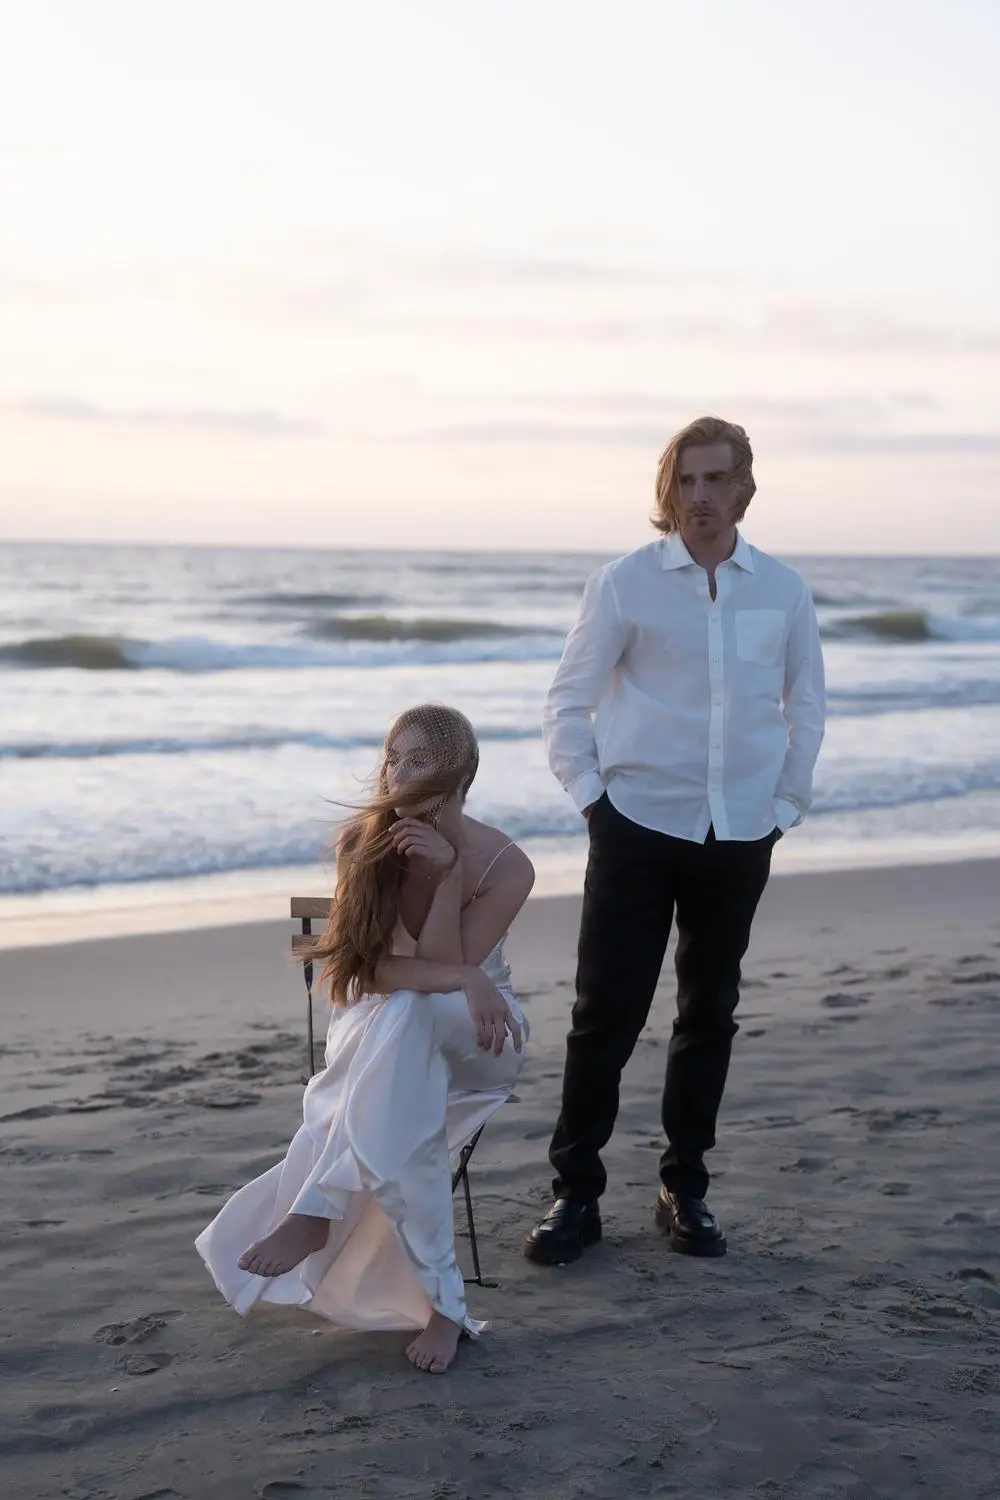
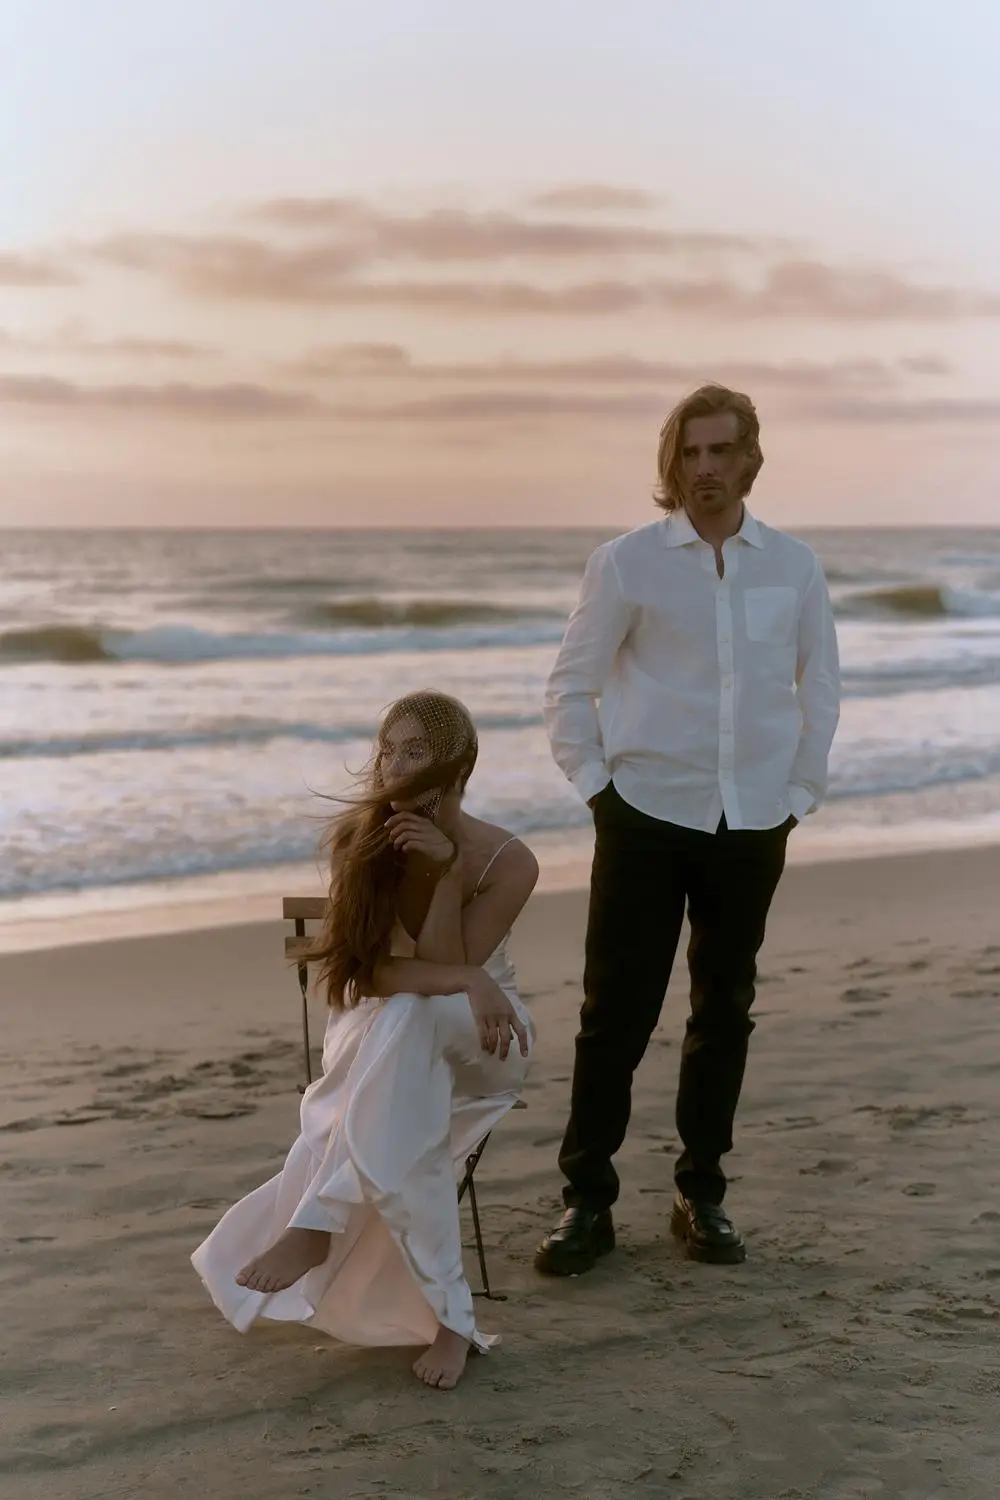
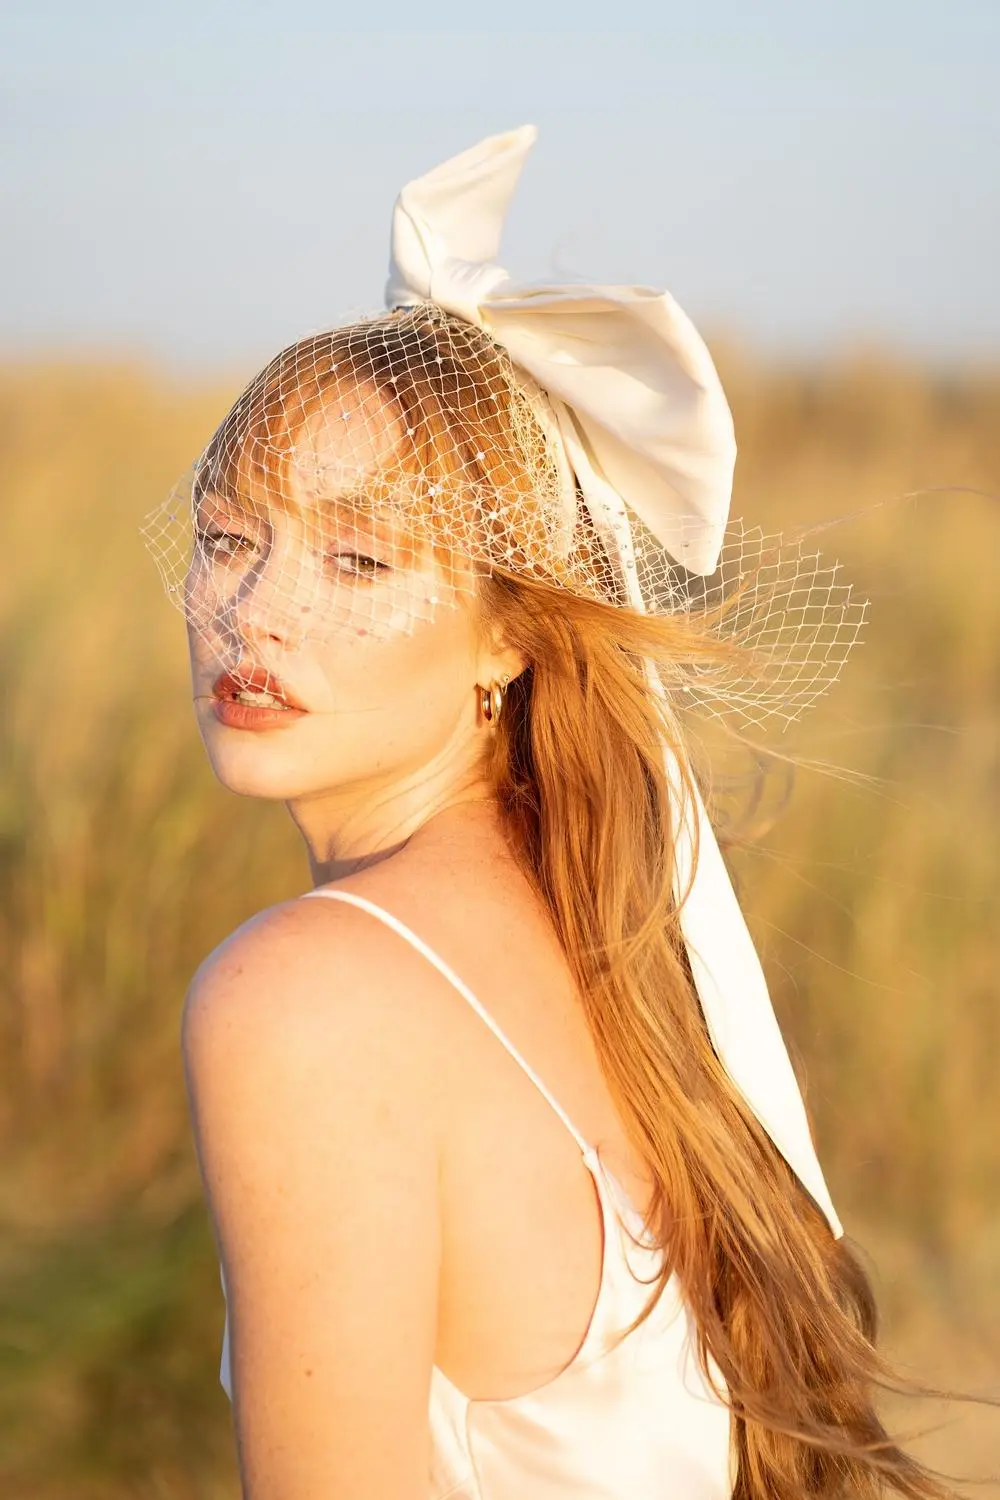
Initially, you’ll always want to fine-tune the temperature and exposure of the image. Then, I often adjust the contrast or manipulate the Color HSL sliders to ensure everything looks the way I want. Sometimes, I also experiment with split toning.
It’s important to note that no preset can guarantee perfect color for every image, as the conditions under which each photo is taken are always different. However, with the ready-made preset, you can analyze the logic behind my color grading approach. This allows you to track how I work with color and build upon my adjustments to achieve any tone you desire.

I cherish creative freedom in my work. Each of my shoots has a different color correction, but I always start with my presets as a foundation. Sometimes, I need to add more color and creativity, so I use additional adjustments. Other times, it’s enough to tweak the exposure and contrast to make the preset fit perfectly. Despite both Lightroom and Capture One working on a similar color adjustment principle, the result in Lightroom seems more “film and soft” to me, while in Capture One, it appears more glossy and modern.
Absolutely! Each preset pack has been designed to work with various color situations and lighting conditions, catering to both beginners and more experienced photographers.
If you purchase all three bundles, you’ll have a total of 23 presets. The “WEDDING” bundle includes 7 presets, “VINTAGE STYLE” has 5, and “NORTH BEACH” features 11
It’s really simple:
Open the “Install styles” file by double-clicking or import it into Capture One using the styles import tool. Once you do this, all styles and their folder structure will immediately appear in the program.
If you want to manually install specific styles, you will find them in the folder next to the installation file.